Tools you will need:
10mm wrench
13mm wrench
Pliers
Straight slot screw driver
Socket a little smaller than the outside diameter of the Hatch Pin Seats.(13mm?)
Procedure:
1. Open hatch and unsnap the carpet in the rear of the car, and move the carpet aside.
2. Take 10mm wrench and remove the two nuts that hold the lock in place. Be careful not to drop the nut and washer.
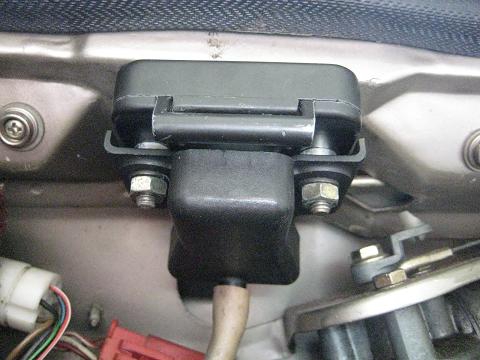
3. The plastic cover with the white hose attached should now slide off the bottom and move to the side.
4. The lock mechanism is now being held on by the black ball socket that is connected to the white arm coming out of the lock mechanism. Don’t just pry this off!!!
The ball socket has a clip that locks it on. This clip needs to be opened first. A straight slot screw driver works good.(clip in the picture is already opened)
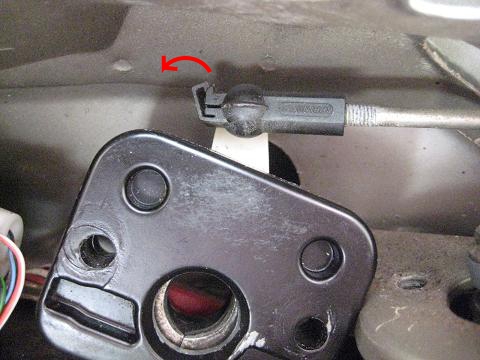
5. Now you can take the ball socket off the lock mechanism arm. I have had luck by just twisting the lock mechanism.(Make sure the clip is loose before trying to remove the socket.)
6. Now you have the lock mechanism removed.
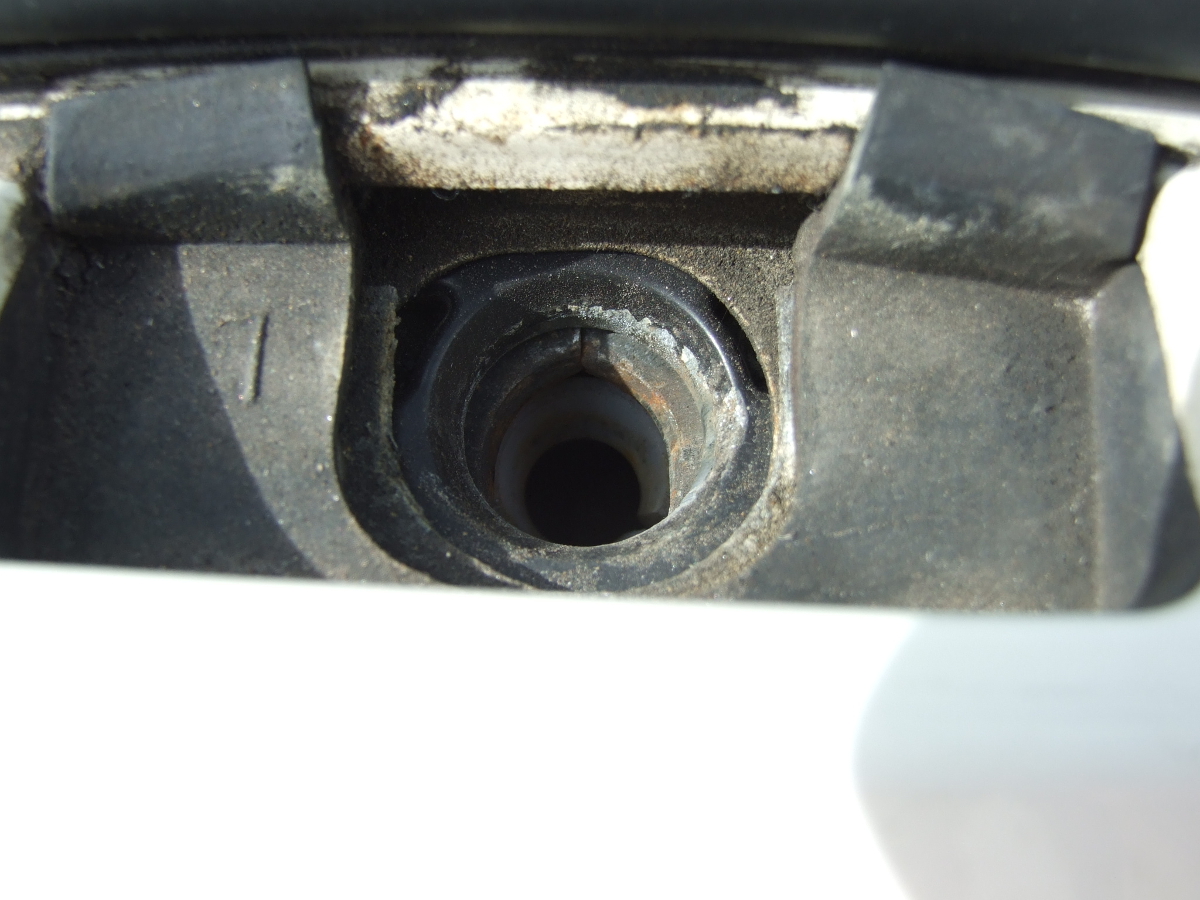
7. Remove the rubber grommet from the bottom of the lock mechanism.(If there is any of it left.) Now look inside the lock to make sure all the rubber from the grommet is removed. Take a clean rag or paper towel and clean the inside, where the rubber grommet use to sit.(Don’t spray any type of cleaner inside the lock mechanism) Make sure there is no dirt in this area.
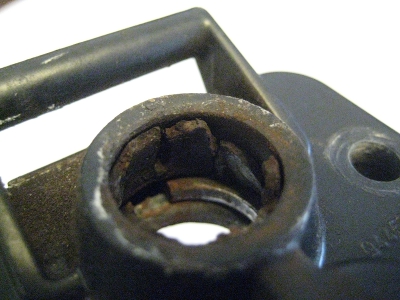
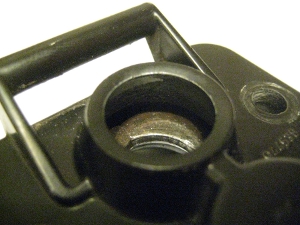
8. Now is time to install the new hatch pin seats. A little grease should be applied to both sides of the hatch pin seat.
9. Align the hatch pin seat so that the slice is facing the white arm.
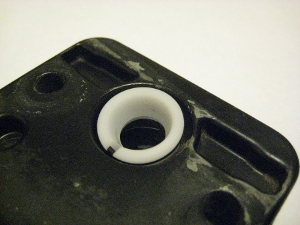
10. Hold open the lock by pushing the white arm on the lock mechanism and push the hatch pin seat down inside the lock.
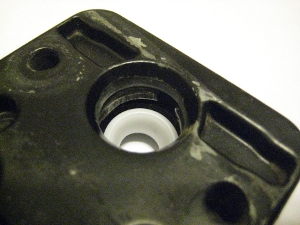
11. Hold open the lock by pushing the white arm and use the socket to push the Hatch Pin Seat all the way down until it snaps into place. You will see it poke out the bottom a little. Now reassemble in reverse order.
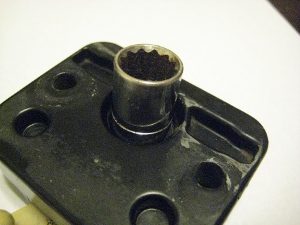
12. Snap on the ball socket. Make sure the clip is open on the ball socket. You might be able to push the ball socket on with your hands. If not, use pliers and gently push in together. Then make sure you snap the clip back on the ball socket.

13. Hold the lock in place on the bolts and put the black plastic cover back on the bottom of the lock and put the nuts back on.

14. Tighten the nuts finger tight. Do not tighten them all the way. The locks need to be movable to align properly
15. Make sure both sides are at this point before moving on.
Now you need to align the hatch pins.
Only do this after both hatch pin seats have been replaced and both locks are on finger tight. You might not need to do this step if you think your pins are set right.
1. First we will align the locks. Open the hatch and loosen the nuts at the top of the hatch pin. Both sides.(13mm) You might not need to do this step if you think your pins are set right. If so, skip steps 1 and 2.

2. Take the hatch pin and turn it, to loosen it, on both sides. Do this a few times. You want the pin to be lower then when you started out.
3. Close the hatch all the way and make sure it is locked.
4. Go inside the car and crawl back to the hatch and twist the lock so it is straight and tighten the nuts on the lock mechanism all the way. The hatch must be closed when doing this. *Note* Be careful not to over tighten the nuts. Doing so will cause the lock to not open or close correctly. If this happens, loosen the nuts 1/4 turn or until the locks work properly.
5. Open the hatch and look at both locks. Make sure the lock arms are all the way closed. You can see in the first picture that the arms are not fully closed, as they are in the second picture.
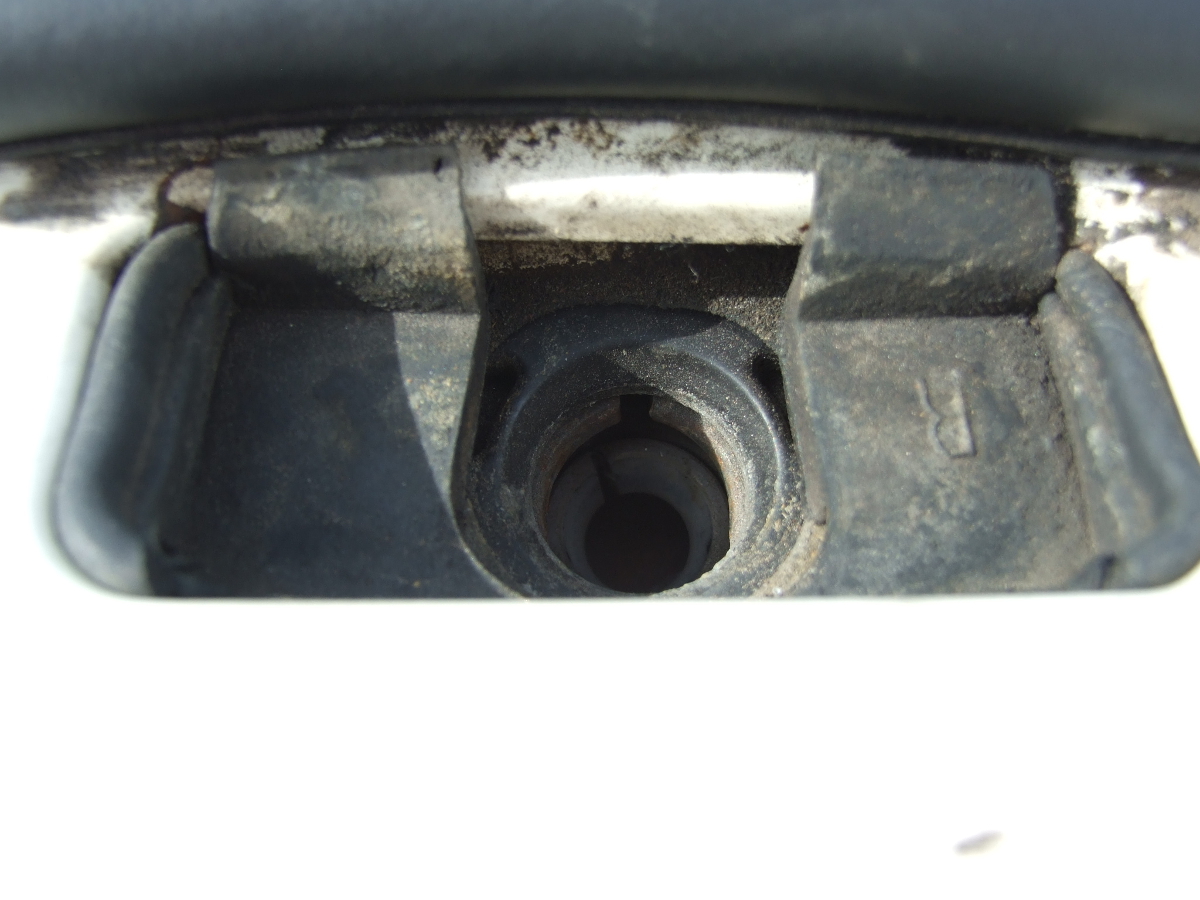
6. If you have a lock that’s not fully closed you will need to adjust it, or the hatch might pop open or not stay closed. Keeping the locks still bolted to the car, unclip the black plastic ball joint. Then pull the ball joint off the lock arm. Rotate the ball joint as to loosen it from the rod. Then pop it back onto the lock arm and see if the arms completely close. If not, loosen the ball joint a little more.

Next, adjusting the pins to the correct height. If you skipped steps 1 and 2 above, your done!
1. Open hatch and tighten the hatch pin(not the nut), so the pin moves up. Do this more turns then you did when you loosened it. (both sides) Try closing the hatch. You want the hatch to close and NOT lock. So if the hatch closes and lock, open it and tighten the pins more until they don’t lock when closing the hatch.
2. Now the hatch should close and not lock on both sides. Open the hatch and loosen the pin a full turn on both sides. Notice that the pins have more wear on one side of the flat part of the head than the other. Try to align the pins so that this extra wear is facing the front of the car.
3. Close the hatch and see if it locks. If it doesn’t lock, keep repeating step 2 until the hatch locks. If one side locks and one side doesn’t, keep repeating step 2 for the side that doesn’t lock, until it does.
4. Now you can tighten the nut on the top of the pin. Make sure the pin doesn’t rotate while doing this.
If the hatch doesn’t lock when closed take a close look at your pins. Sometimes there are burrs or nicks on the top of the pin. Try filing them smooth around the top edge.
You are now done and your hatch shouldn’t squeak anymore. Drive it and enjoy the quietness.