Tools you will need:
Phillips Screwdriver (small)
Phillips Screwdriver (medium)
Razor Blade
Scissors
Super Glue (supplied)
Procedure:
1. Remove the armrest from the car. Take out all the little screws on the bottom of the armrest lid. Or, I find it easier to remove the whole armrest from the car. To do this, remove the four screws from under the armrest lid.
2. Remove the cover from the pad. You should be able to just pry it off with your hands. Be careful when taking the cover off, the foam underneath might be glued to the edges. You can see in the second picture below how some of the foam is glued to the cover. Carefully cut the foam from the cover so you don’t pull the foam off the lid. All you want to remove is just the cover, not the foam. The foam needs to stay attached to the plastic lid.
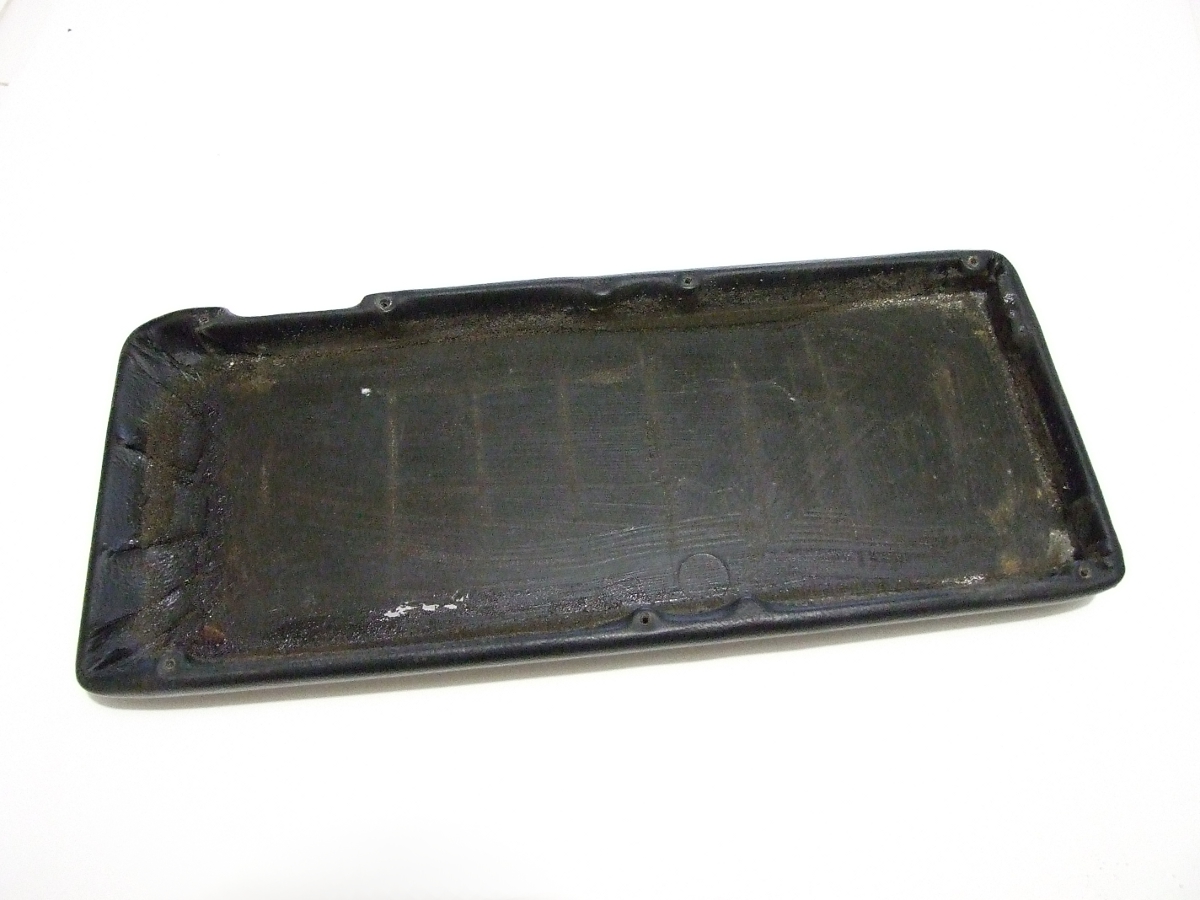

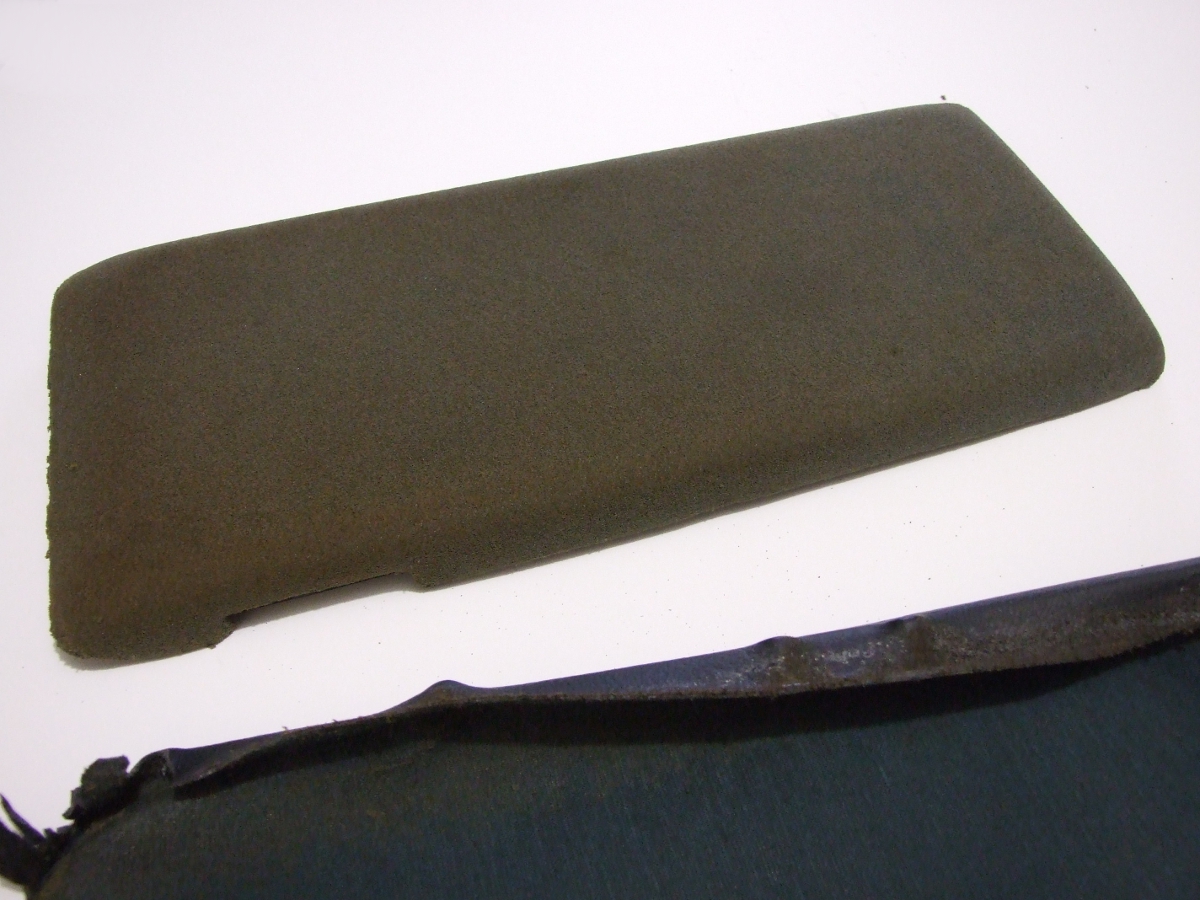
3. Now the fun part, removing the glue and left over material from the bottom of the armrest lid. This can be done with a straight slot screw driver, small putty knife, a razor blade. Try to get the bottom of the armrest lid as clean as you can. The cleaner it is the better the new cover will stick to it. Once it’s clean take some sand paper and sand the edges to help the glue adhere to the plastic. Also sand in the bends, for gluing the inner material on later.
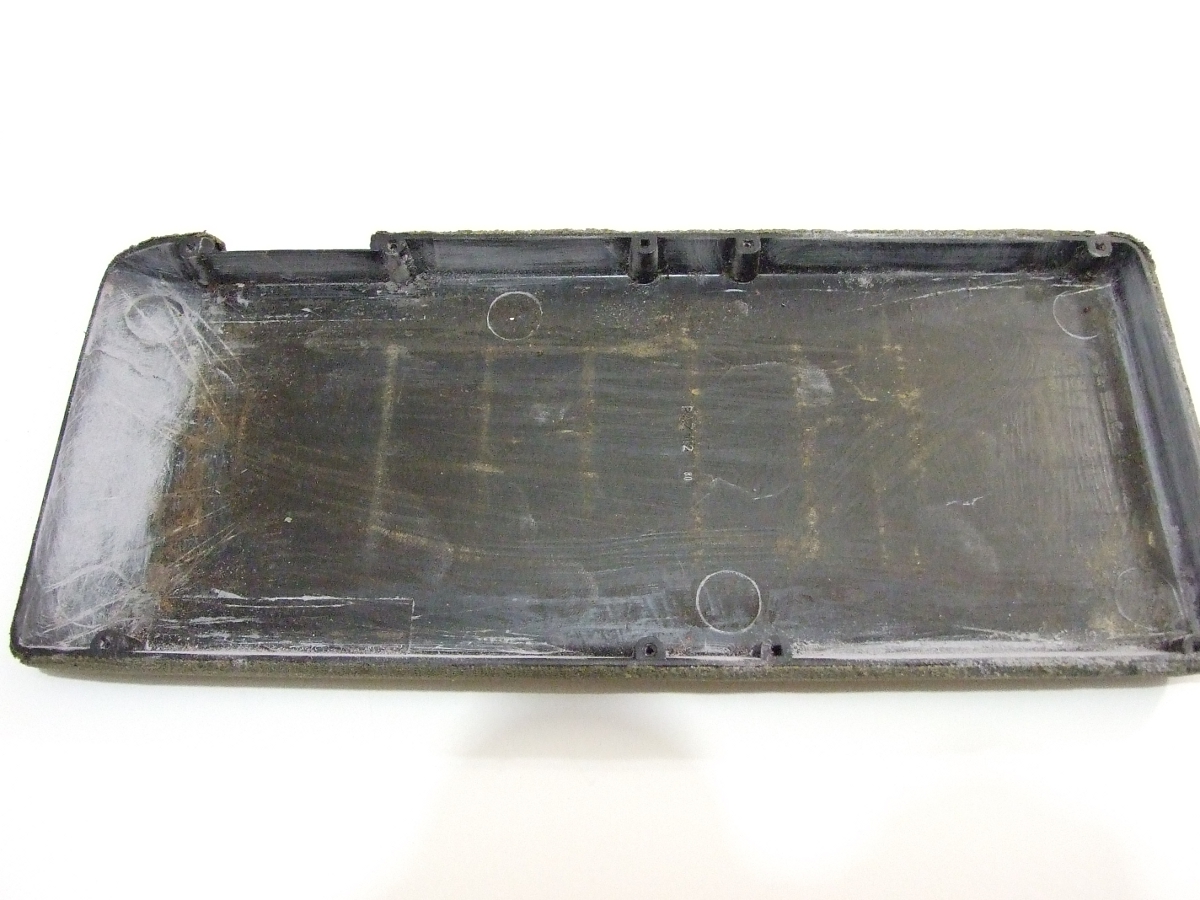
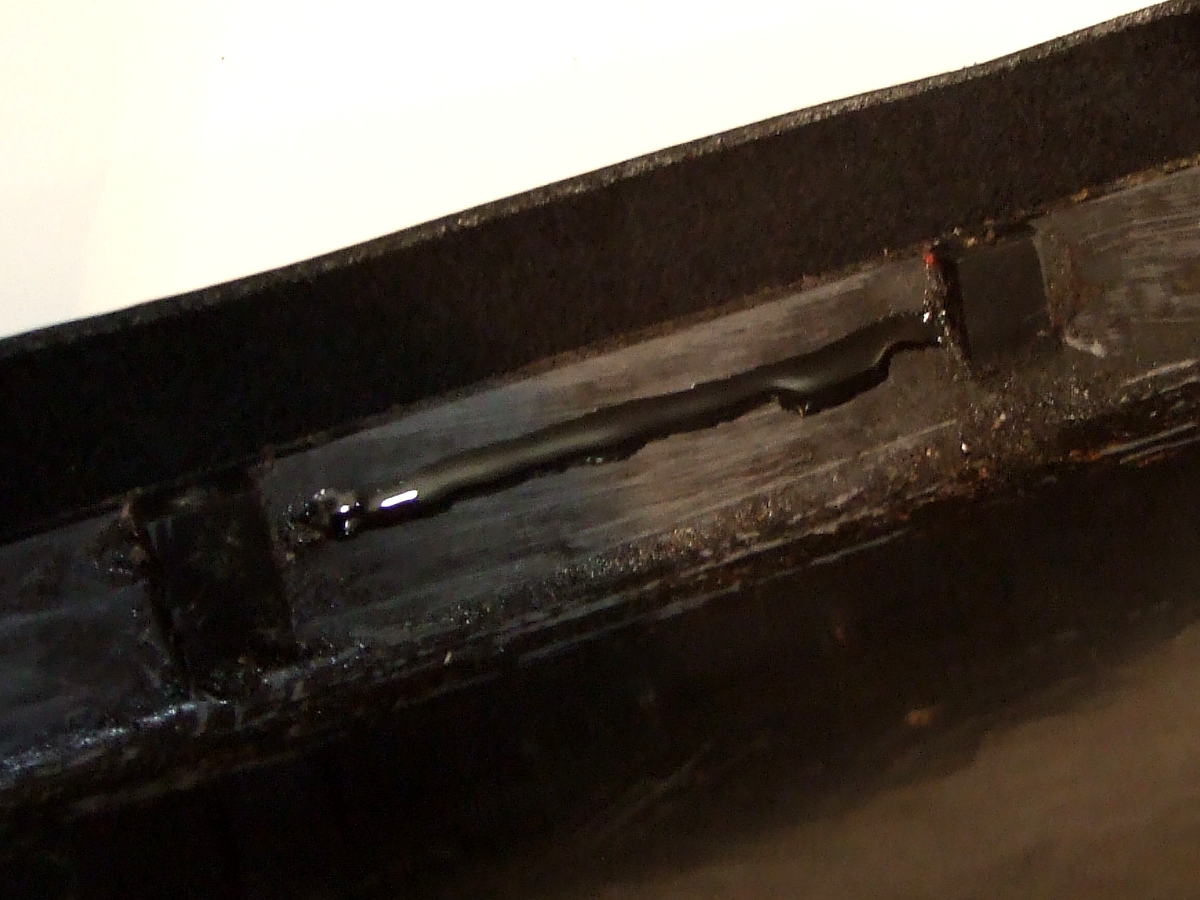
4. Open the supplied super glue and get it ready.(Be careful when opening the super glue. Don’t squeeze the tube.) The glue is runny and will come out fast. When using the glue, hold it upside down and squeeze very lightly. The glue takes about 50 to 60 seconds to dry. So make sure you hold the material for about 50 to 60 seconds to make sure it sticks. The picture below shows how much glue should be used.
5. Align the material on the pad so that you have enough material to cover over all the sides. First glue the front of the cover down. At first only glue about 1 to 1.5 inches, right in the middle, like in the first picture. Then stretch the cover a little and glue the back of the cover. Only glue about 1 to 1.5 inches of the rear, too.(second picture)
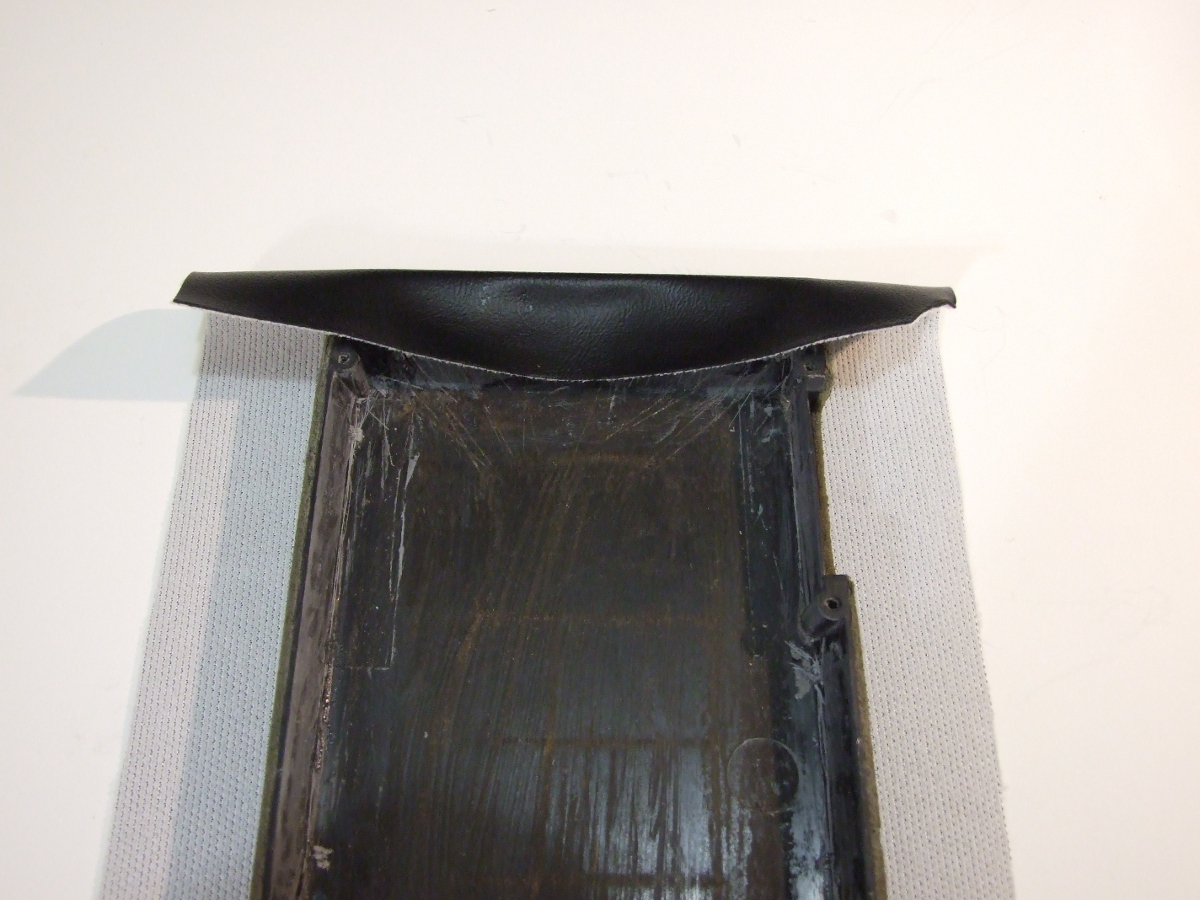

6. Now glue the sides of the cover. I suggest doing one complete side before starting the other side. Put glue on about 1 to 2 inches at a time. You will need to be able to hold the material tight where you glued it, so don’t try gluing too much at once. Gently stretch the cover over the side and press it down on the glue and hold for 50 to 60 seconds. Don’t pull too hard on the first side or you will offset the cover. Once that section is dry, continue on down the side gluing one section at a time until one full side is complete. Don’t glue the corners yet, those are last.
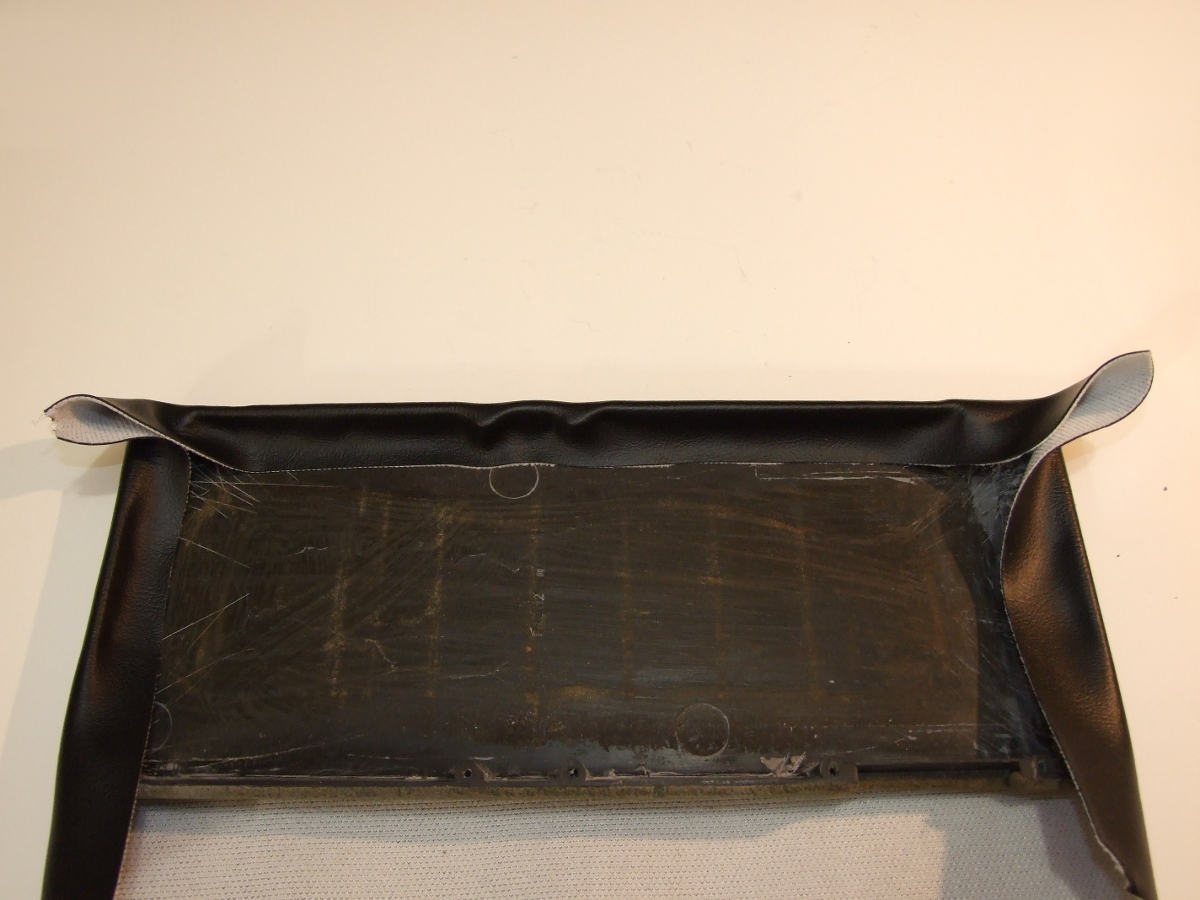
7. When you are finished gluing one side start on the second side. This time you can pull a little harder on the material to get it tighter. Follow the same method as the first side, gluing about 1 or 2 inches at a time.
8. Now that you have both sides finished, you can finish the front of the cover. Take a razor blade and make cuts in the material like in the picture. You want to cut the material on both sides of where you glued it.
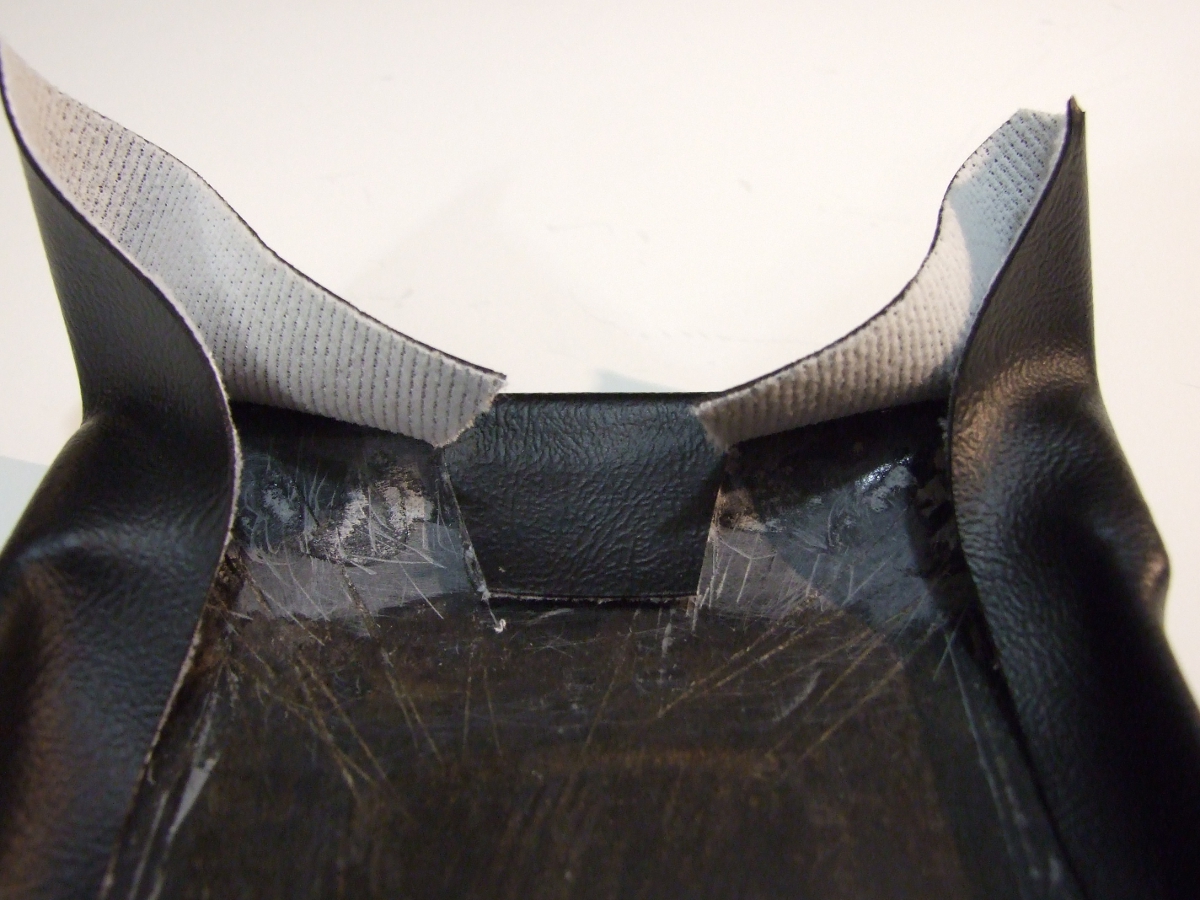
9. Starting with the right side. Pull the cover to the center a little and glue about 1/2 inches down. Then make a cut in the material like in the picture.
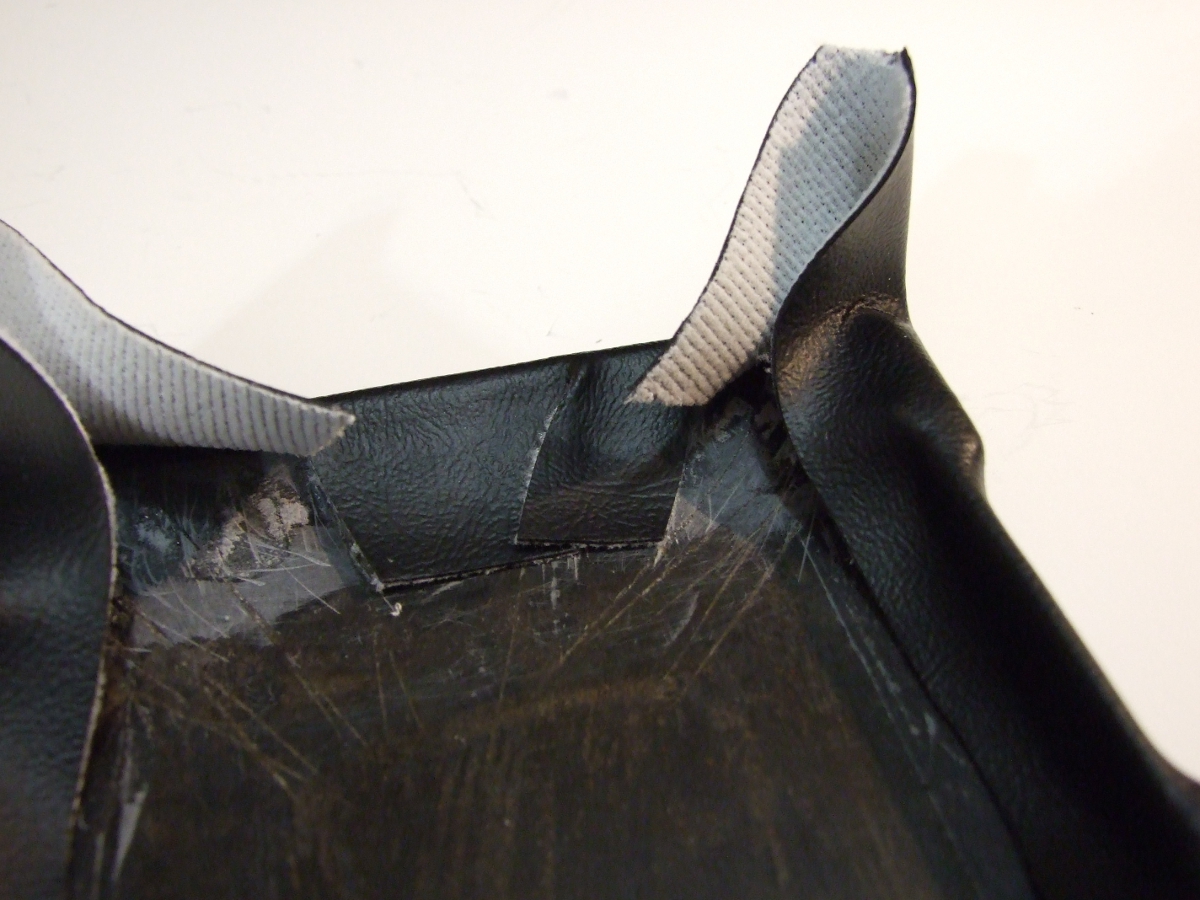
10. Repeating the last step and pull the cover to the center a little and glue about 1/2 inches down. Then cut the material.
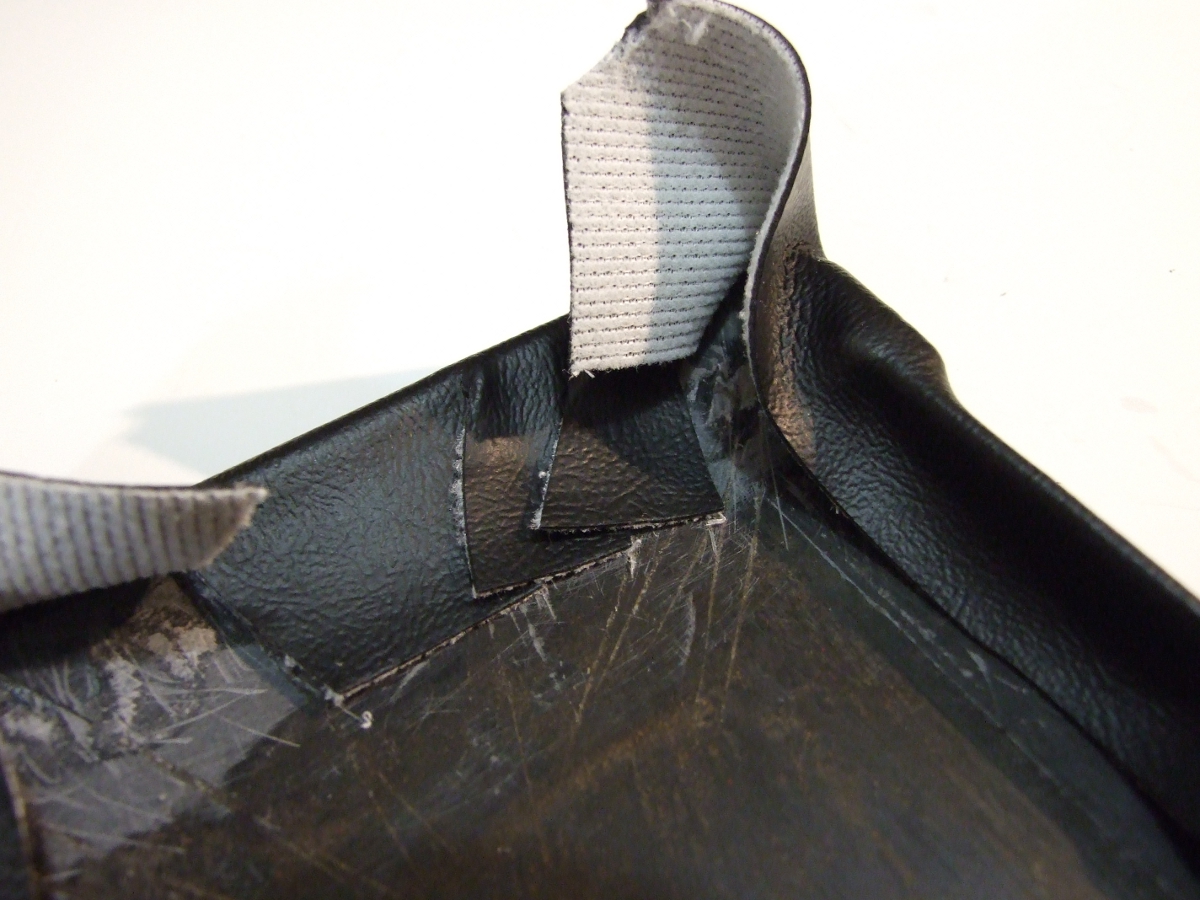
11. Basically you will be repeating the step 10, but on the side of the armrest. First cut the material about 1 inch away from the corner of the armrest lid. Then pull the material towards the rear of the lid a little and then glue down about 1/2 inches. Then cut the material on the other side of the glued section. It should look as close as possible to the picture below.

12. Now you can glue the corner down. Put some glue in the corner and pull the corner of the material fairly hard to get the material tight and to try to eliminate wrinkles.

13. Next I have trimmed some of the extra material away to be able to work a little easier. If the wrinkles are a little too big from the last part you glued down, like mine was, here’s how to fix that. Make small cuts up both sides of the wrinkle. Then put a small amount of glue under the material and glue it flat. I’ve done that to both sides of material I glued down in the last step. Just be careful not to glue your finger to the material, or get glue on the outside of the cover.
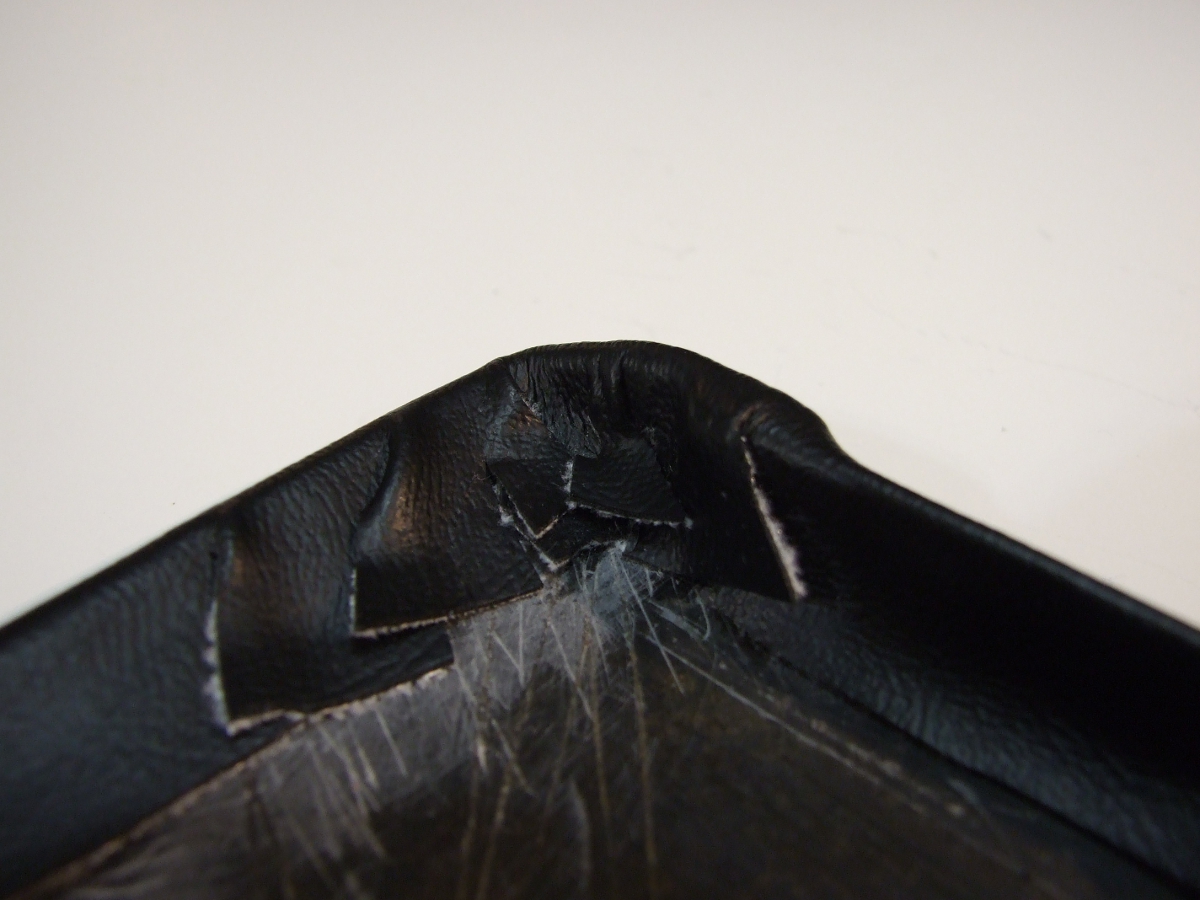

14. Now you can glue the left side of the front. It’s the same process as the right side. Just repeat steps 9 – 13 and the front of the cover should be finished.
15. The back of the cover is next. The back of the cover is a mirror image of the front. Repeat steps 9 – 13 for each side of the back of the cover. Below are some pictures of one rear corner. It’s a little tighter than the front corners and is a little harder to work with, but the same steps apply.
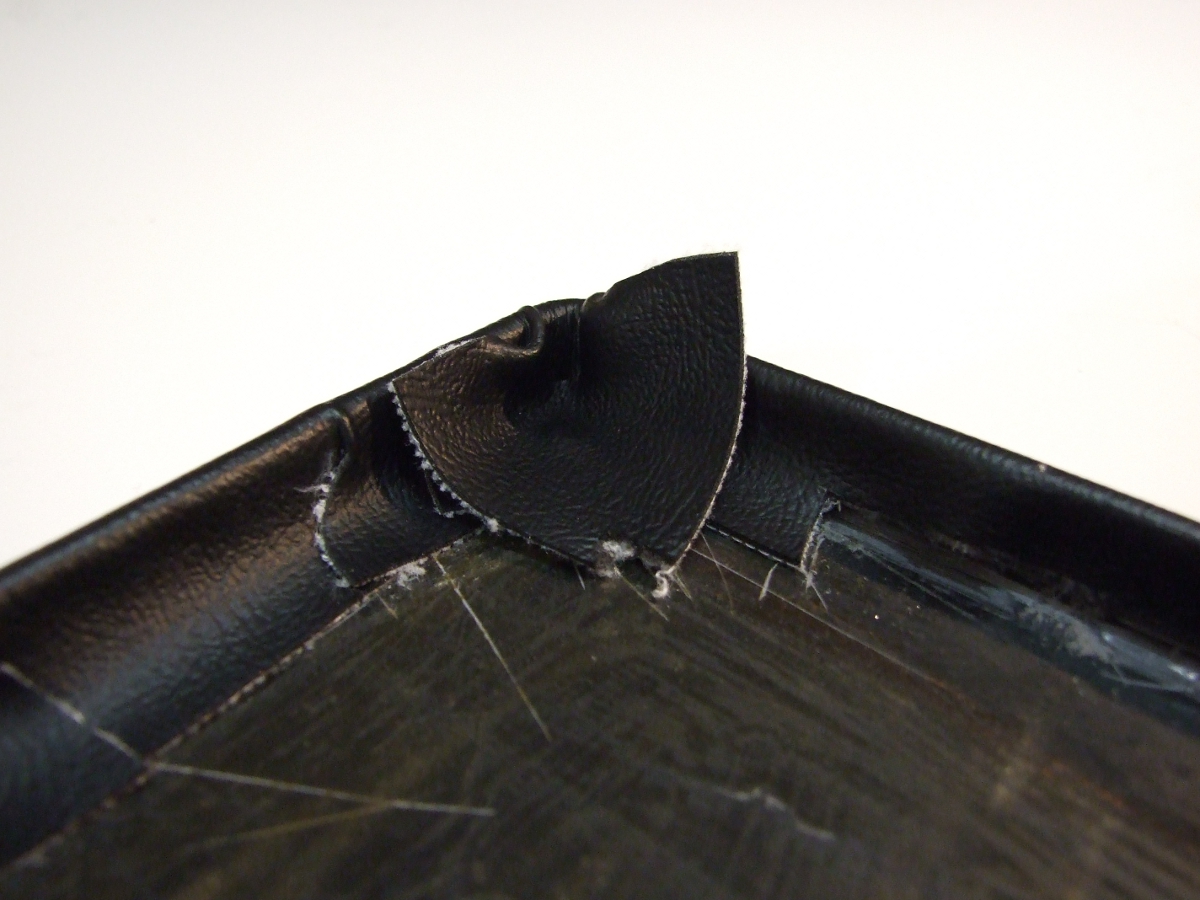

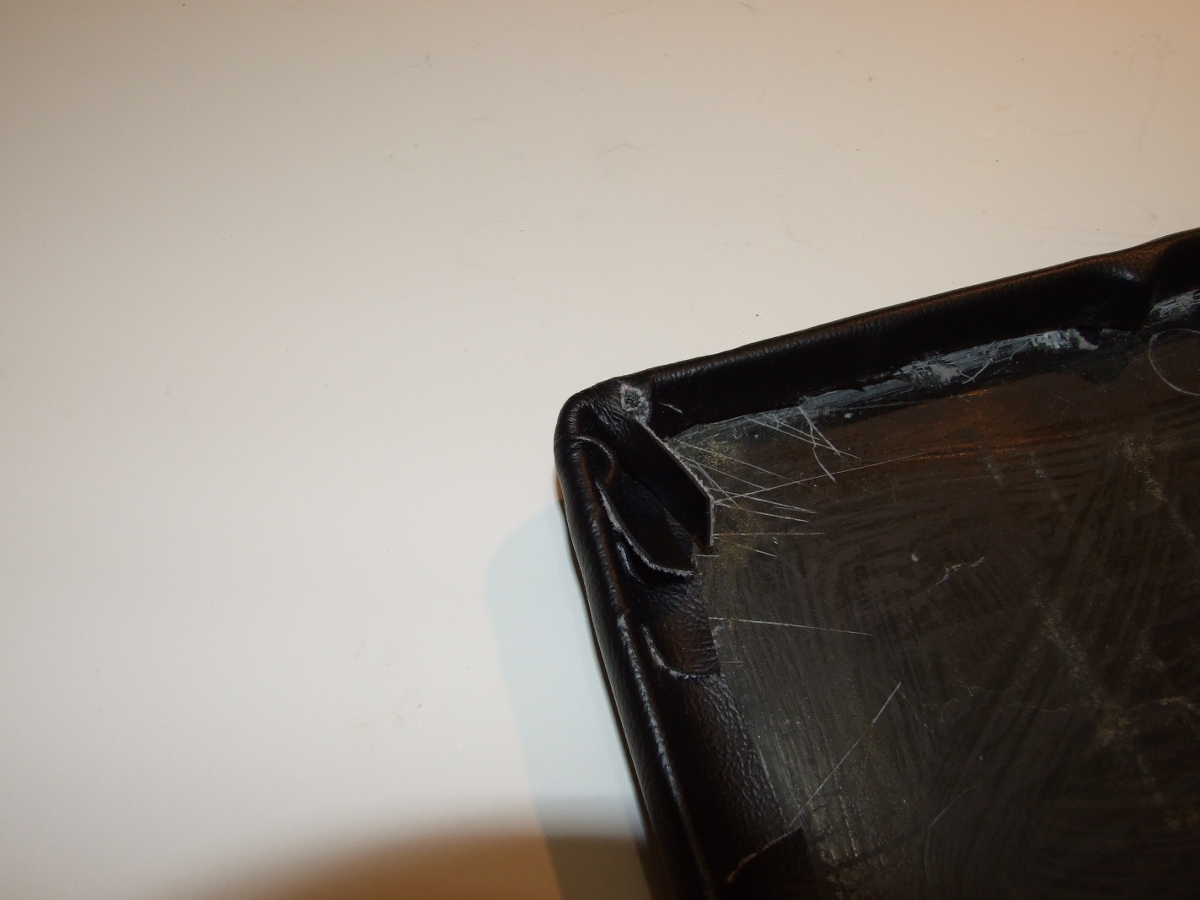
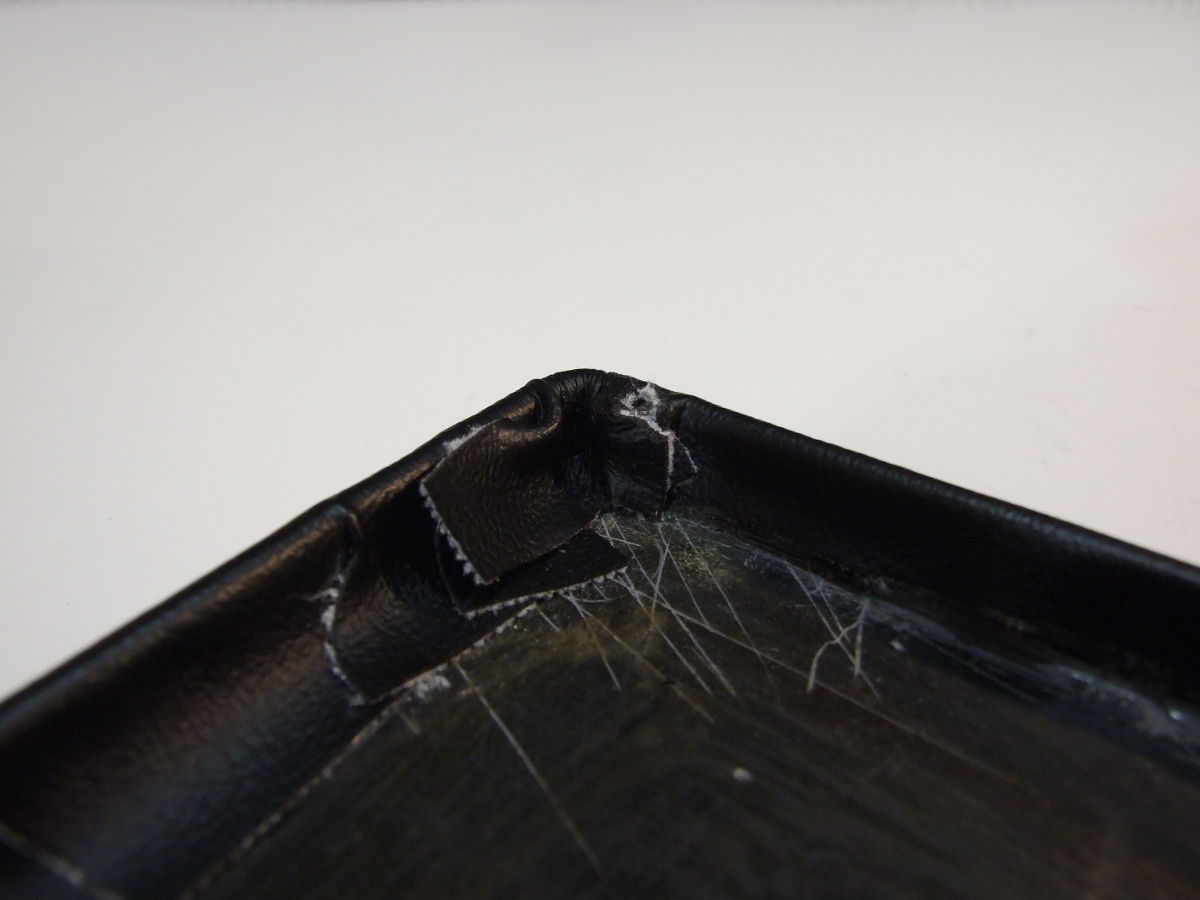
16. Trim some of the extra material from around the sides and front and back so that you can glue on the inner material.
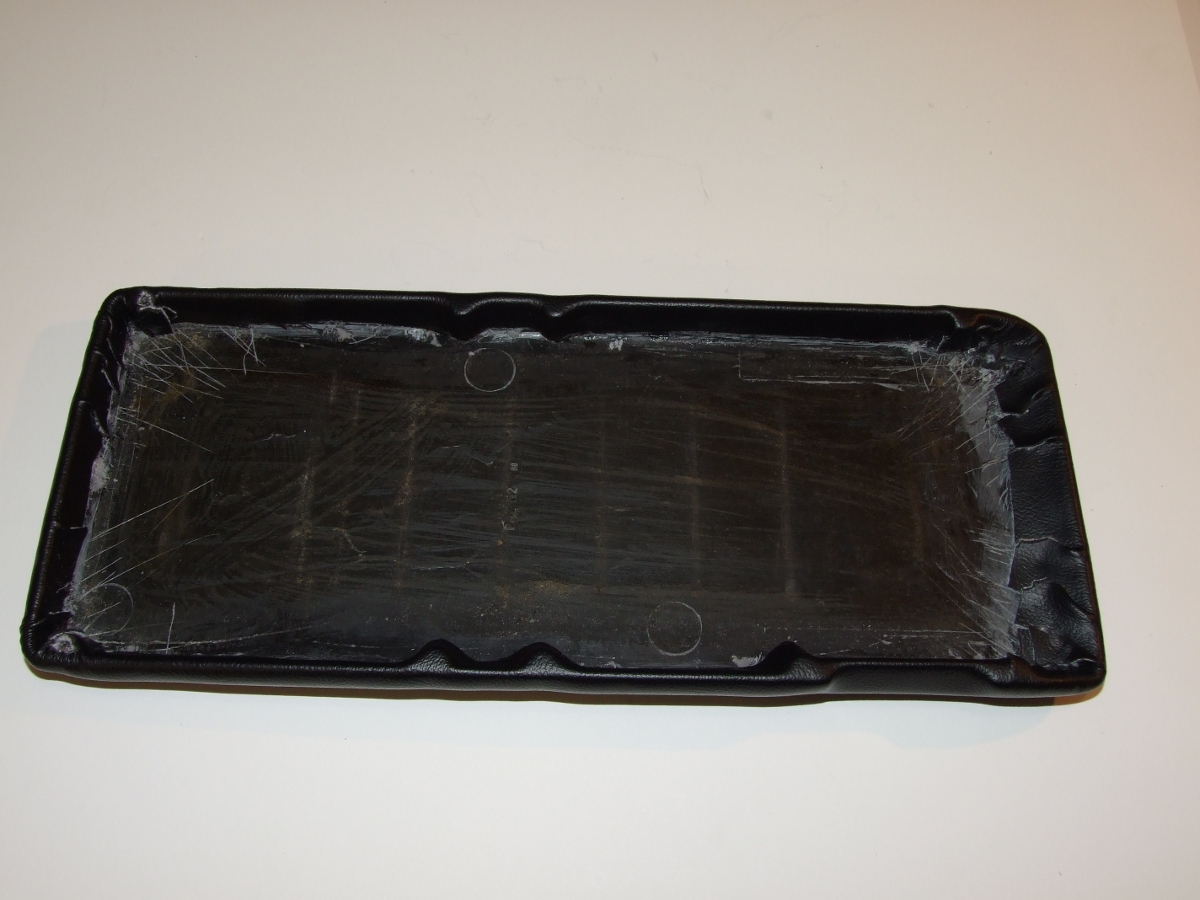
17. Now’s a good time to cut out the material around the screw holes. Take a razor blade and make a small cut directly on top of the screw hole. Since the material is under pressure it will open up and pull the cut open you just made. Don’t cut a circle around the hole, if you do the tension on the material might pull the material over the side of the lid exposing the foam. This is a little harder to fix but is still fixable. Carefully apply a drop of glue above the hole and pull the cover over the edge onto the glue and hold it down until it dries. Remember not to glue your finger down, or get any glue on the out side of the cover.

18. Continue around cutting out all the screw holes.
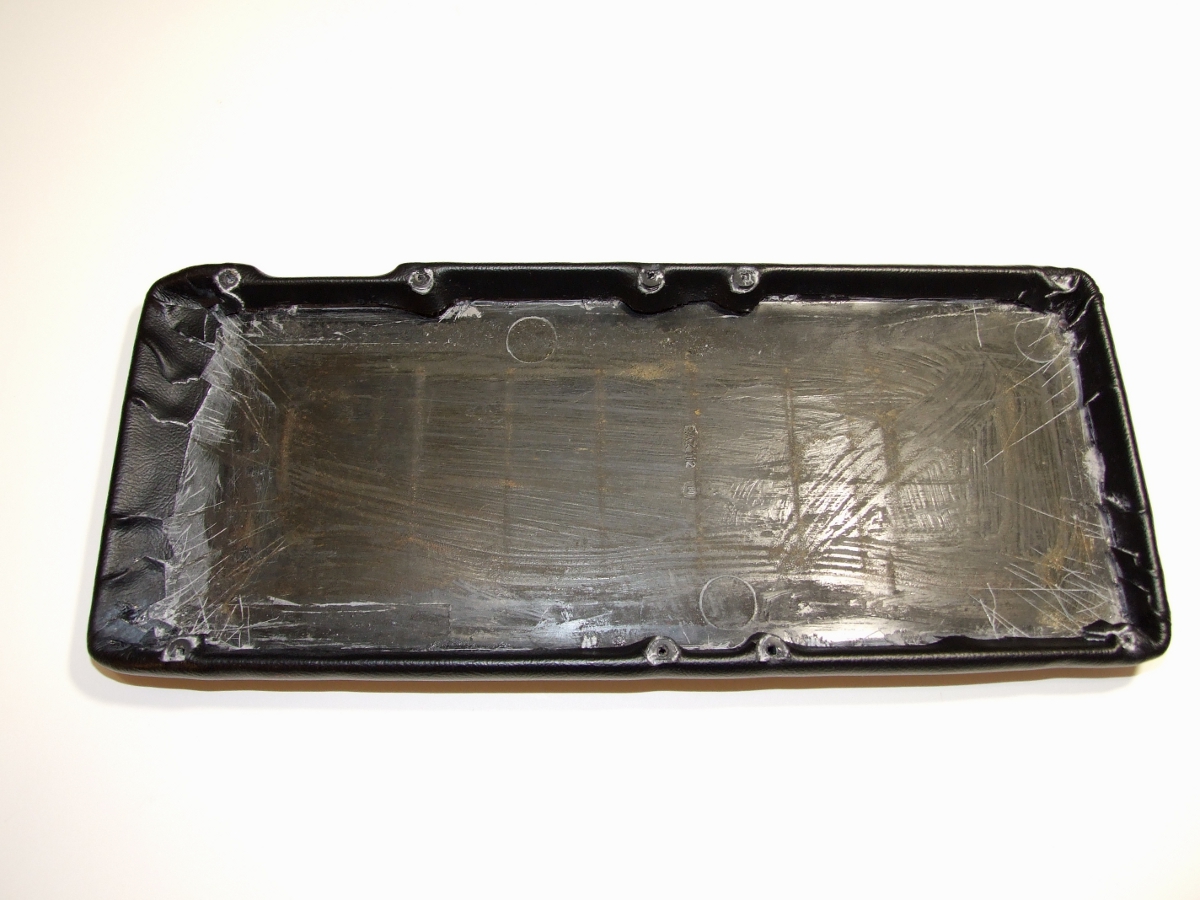
19. This is how the inner material is going to be installed.
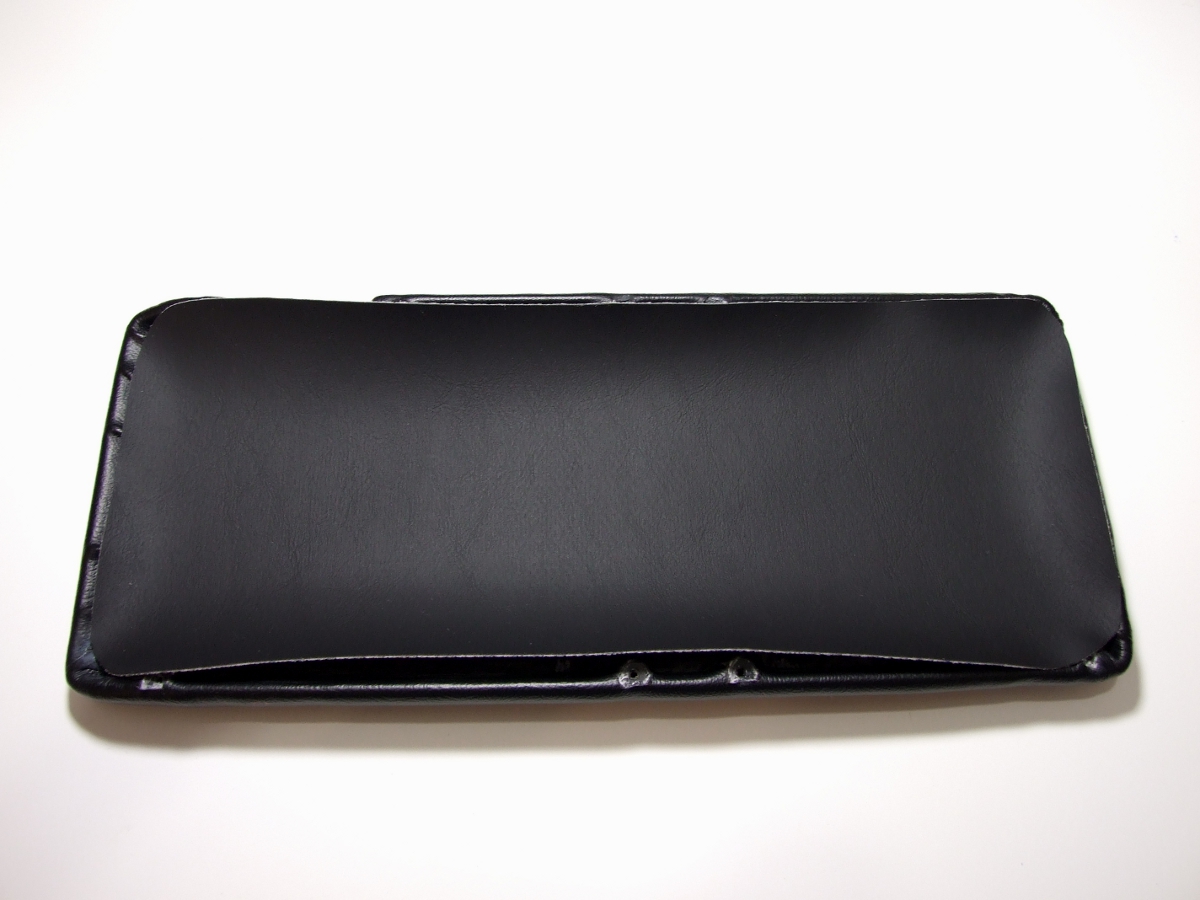
20. Start with the rear of the cover when installing the inner material. It’s much easier to align the material this way. Push the material inside the lid and align it so that you have the same amount of material on both sides and the rear. Put some glue along the whole rear edge of the lid, then push down the material in the rear and hold it there until it dries. Once that’s dry start gluing the sides of the cover down.
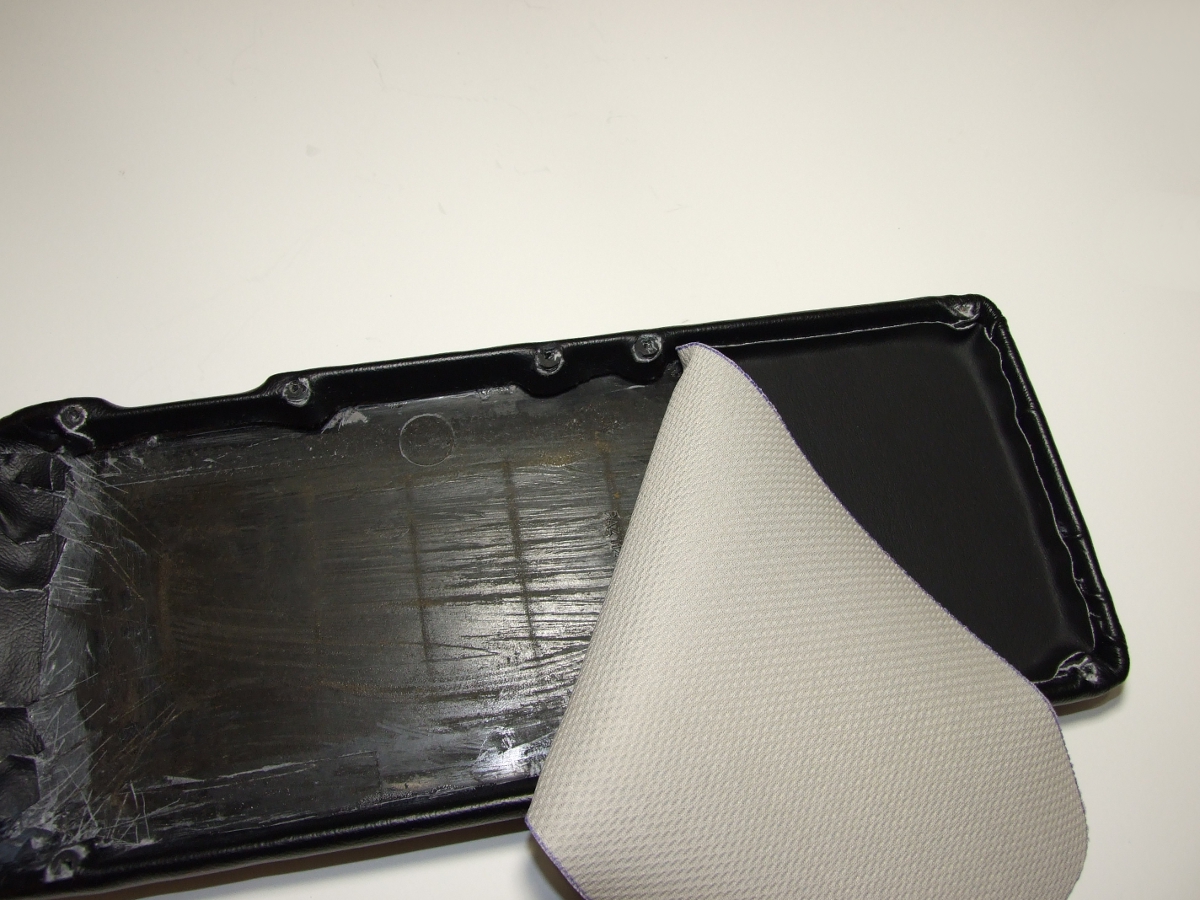
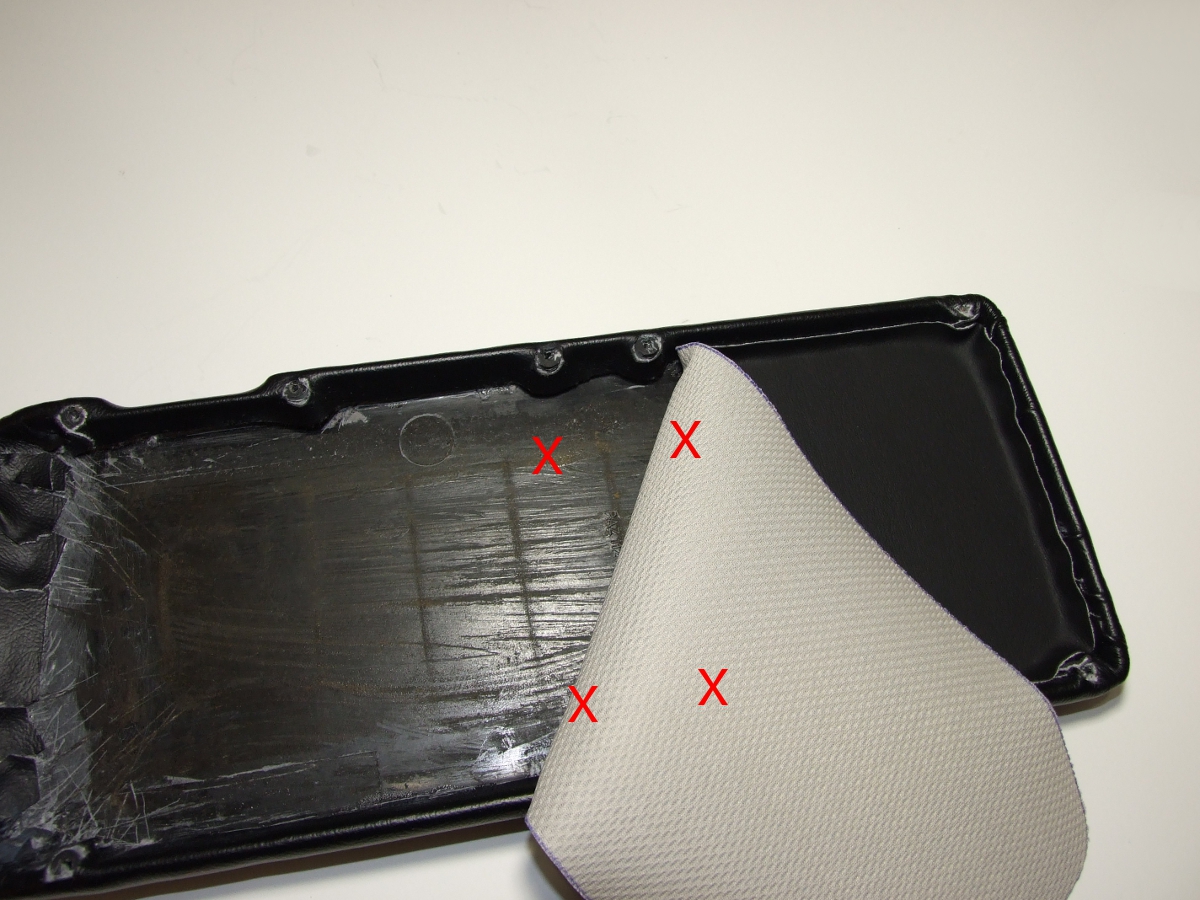
21. The inner material gets a little tricky around the two screw holes that are close together. It will want to make a “bubble” in the material where the X are in the picture. To fix this problem, before gluing the sides of the material around these screw holes, place a drop of glue where the X are and hold the material down until it dries. Once you have glued the cover down where the X are, then you can continue gluing the sides of the material down and then the front. When finished it should look like the second picture.
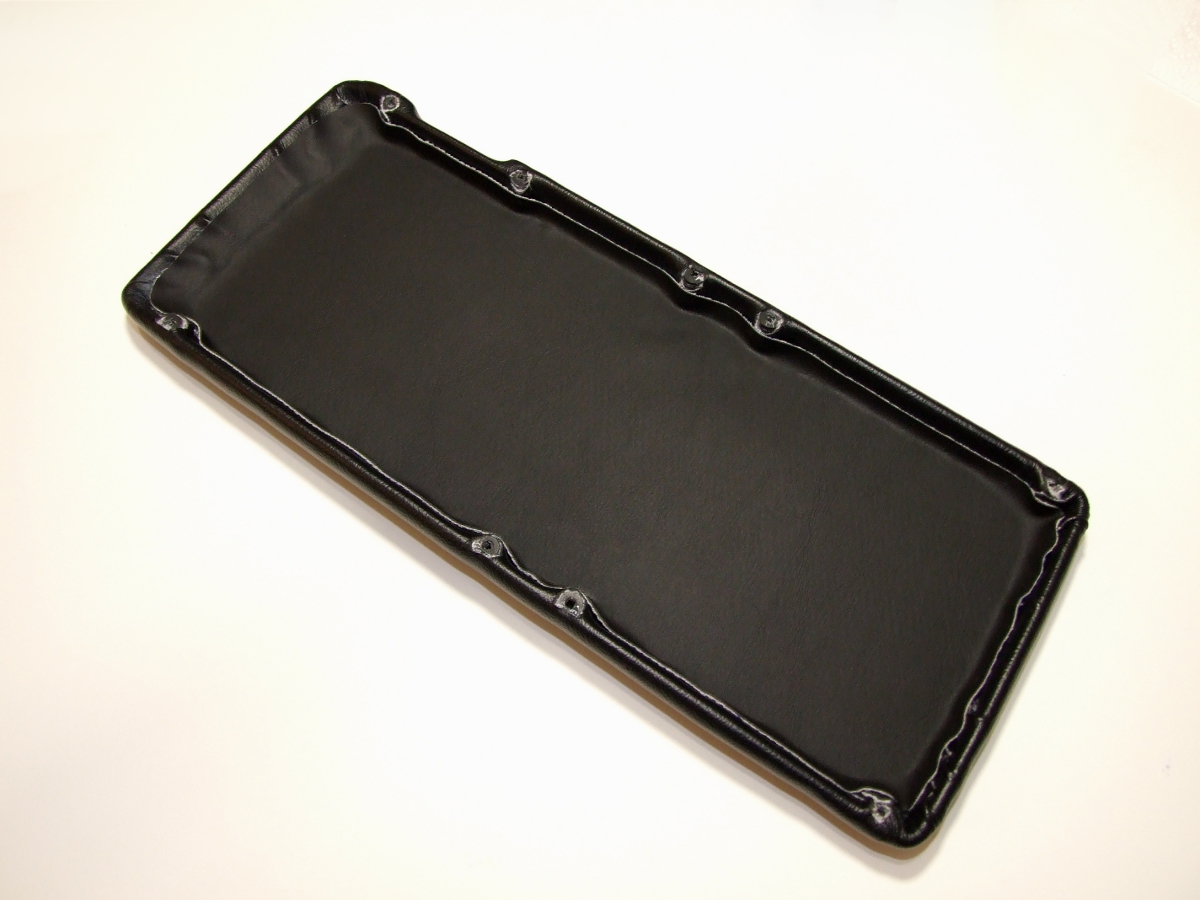
17. Carefully install the armrest lid back onto the cassette box. Watching to make sure the inner material isn’t being folded or wrinkled. Then install the screws that hold the armrest lid onto the plastic base. Reinstall the armrest back into your car and enjoy.
Please message us if you need help, clarification or have a question. Here