|
Marker Light Seal Instructions
Tools you will need:
2 Hands
Procedure:
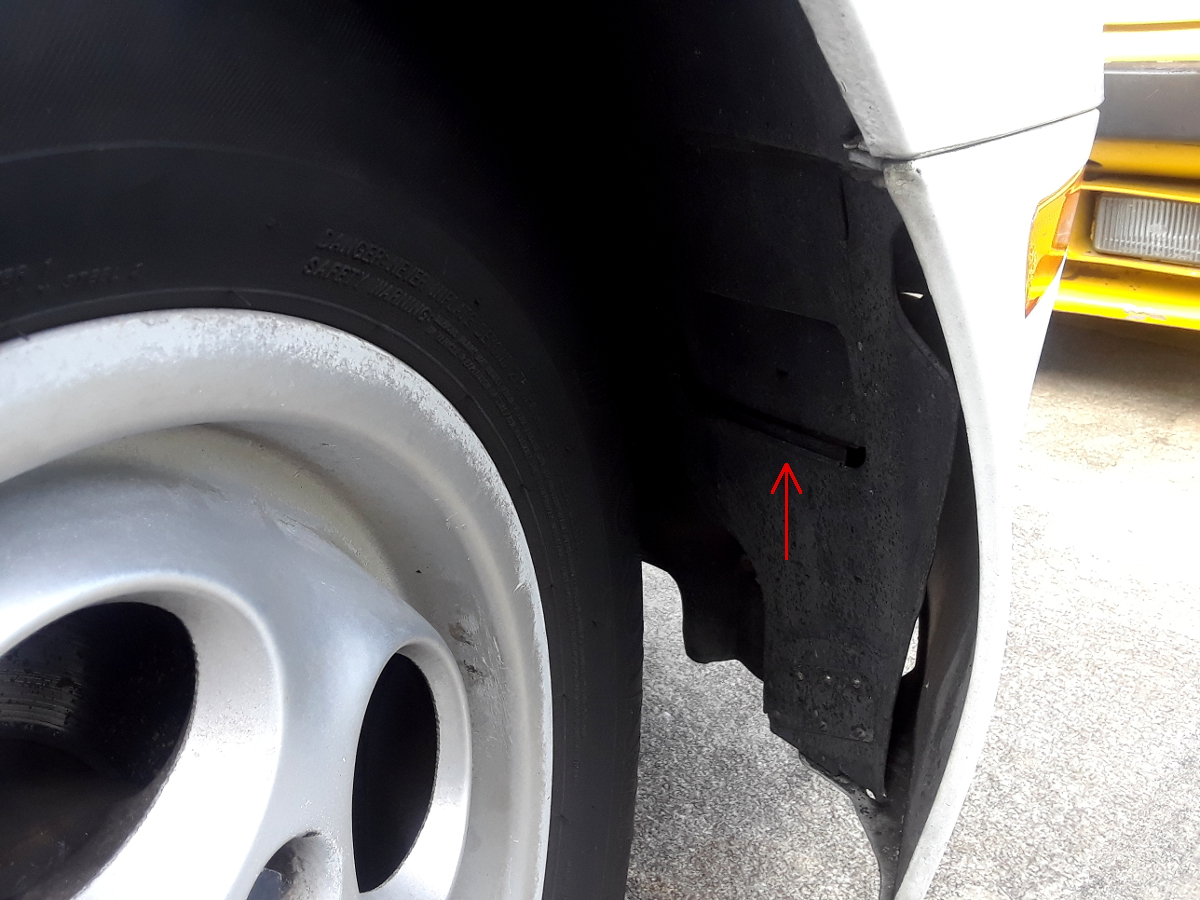
1. Turn the wheel so you can have access to the inner wheel well. Pull this access panel out (towards the wheel).

2. We have found it easiest to now turn the wheel the other way, basically covering the access panel. This will allow the access panel to open farther allowing you to gain more access to the marker light.
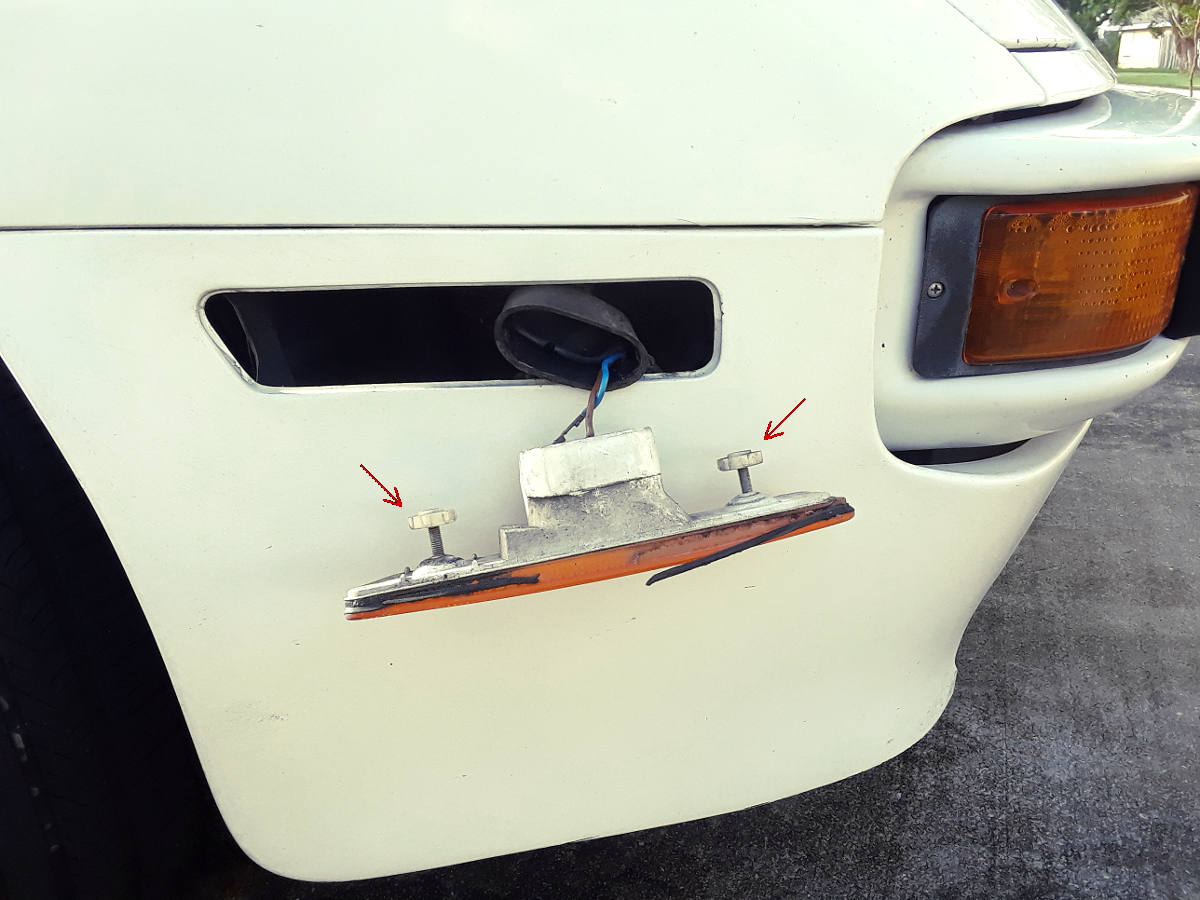
3. Locate the 2 white nuts on the back of the marker light and unscrew them. Picture below shows what they look like.

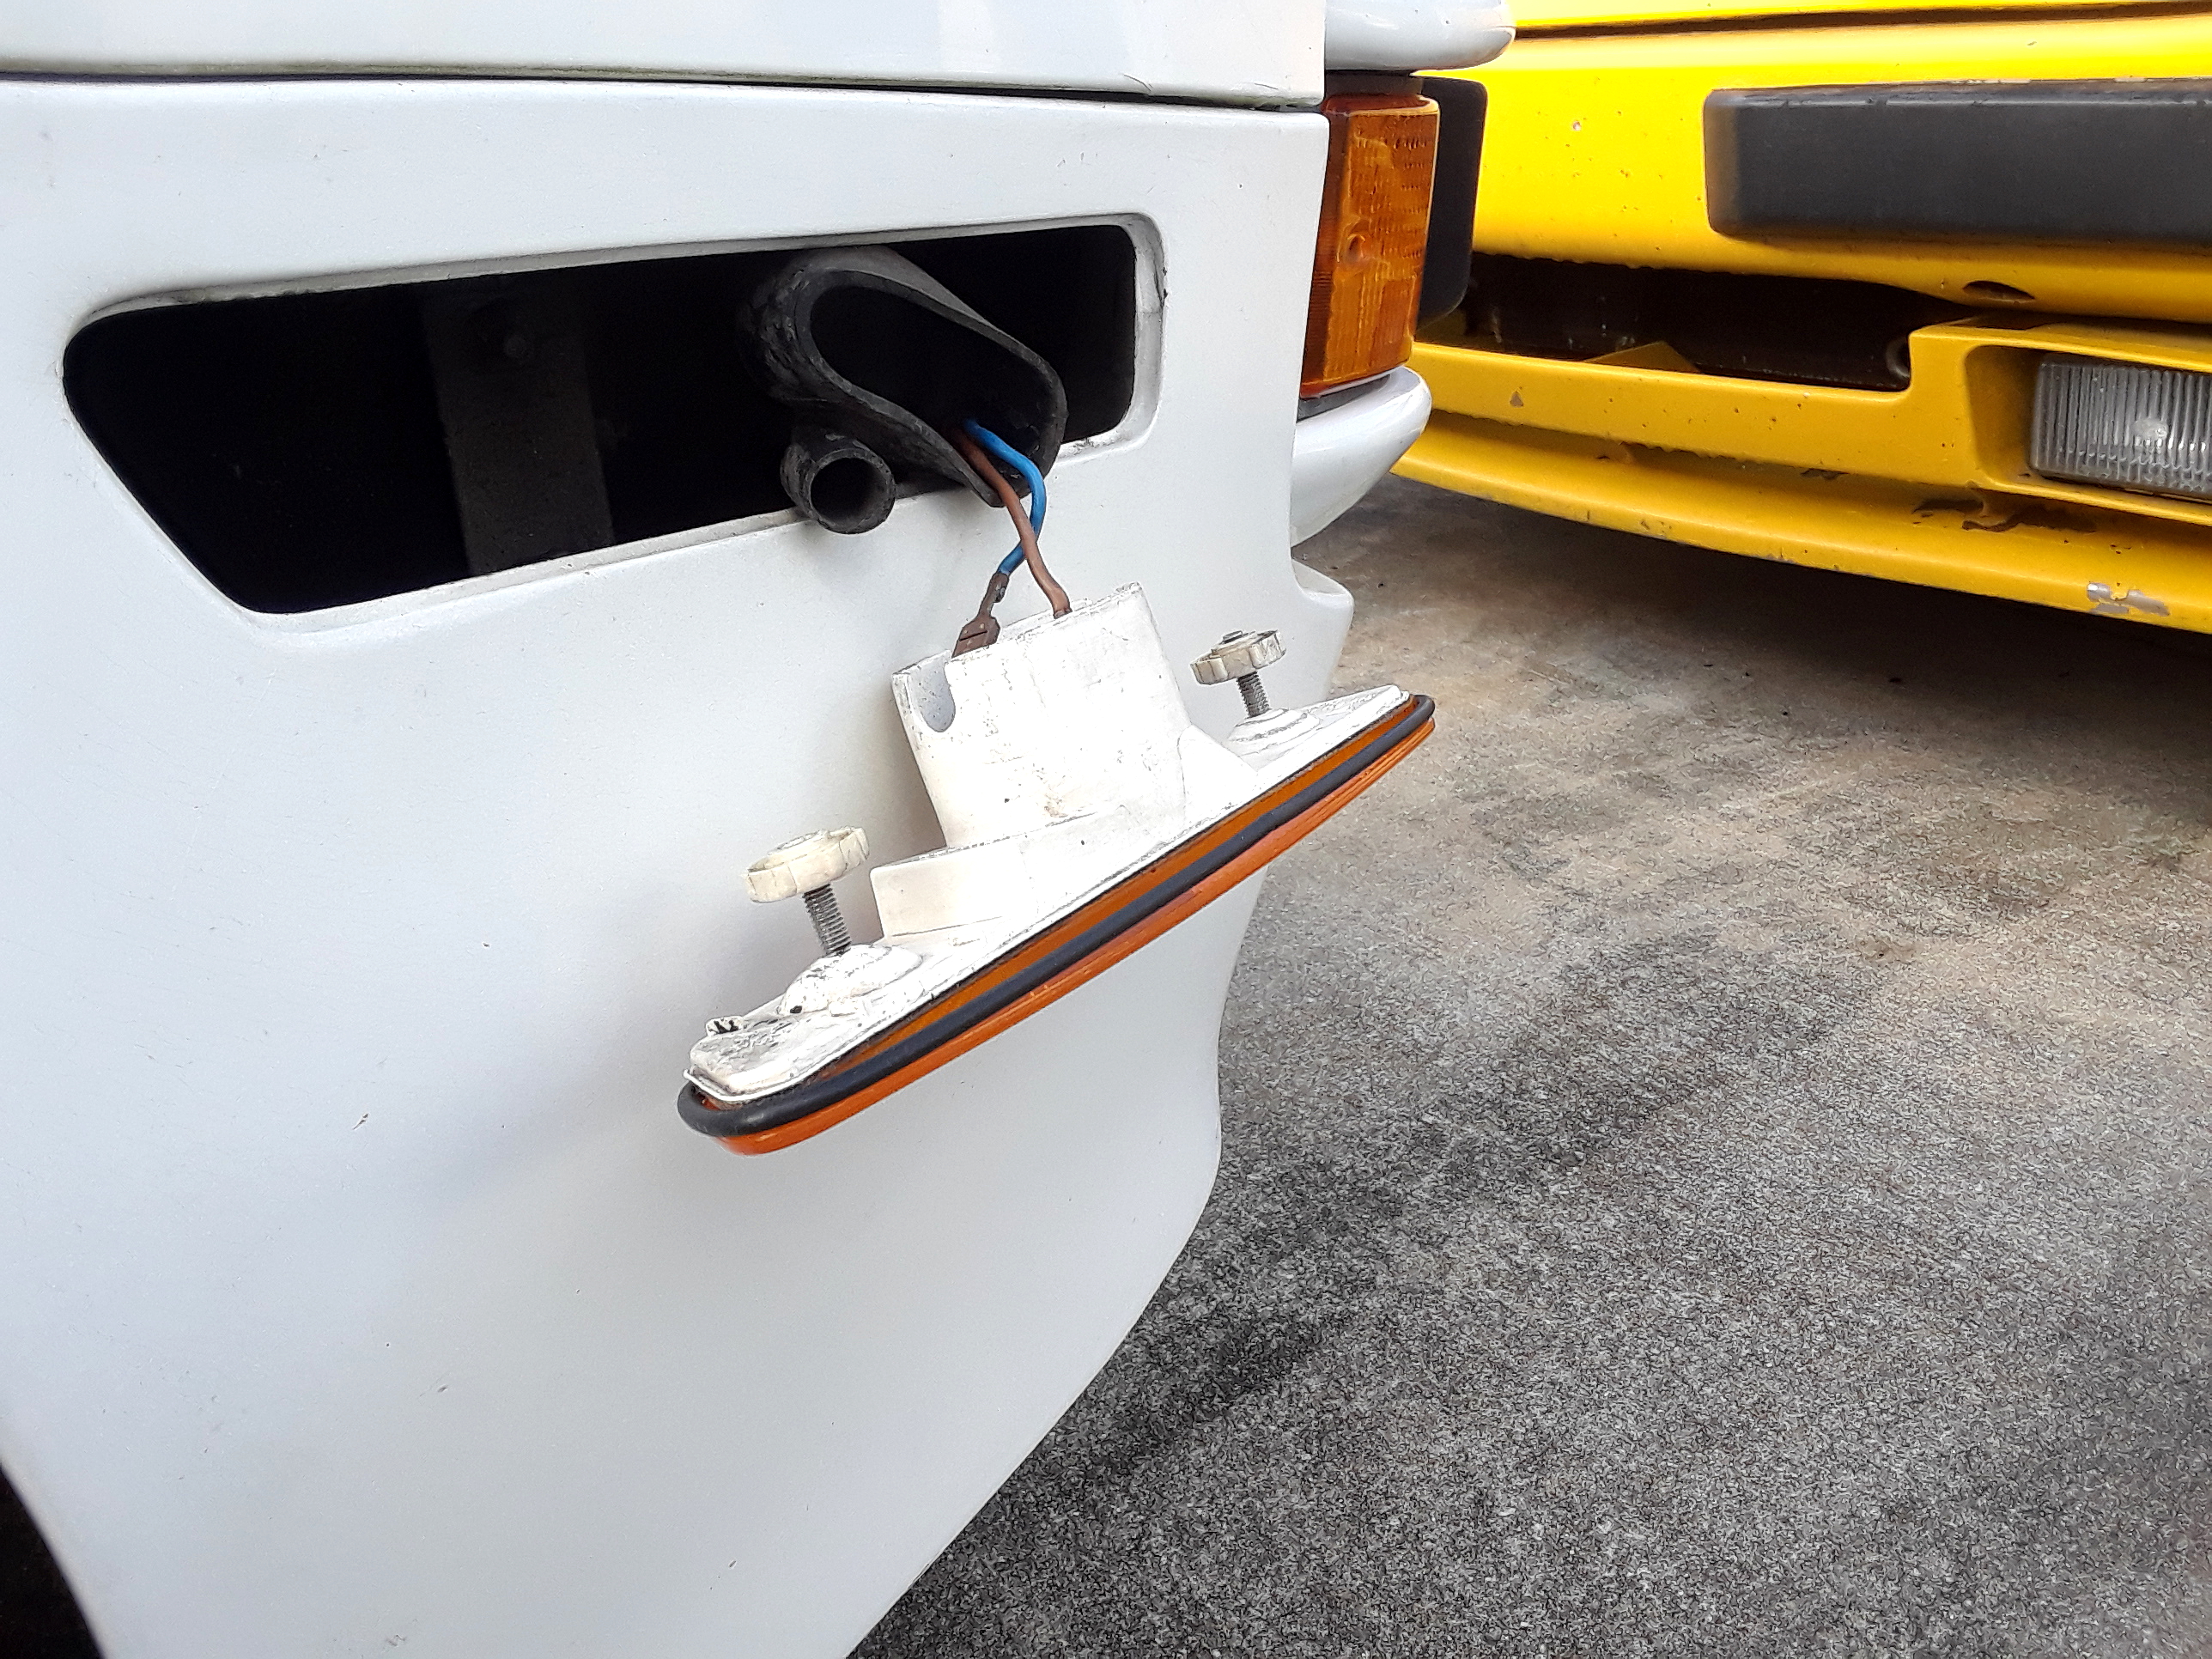
4. Now remove the marker light from the car. The light does not have to be completely removed from the car to change the seal. You do not need to unplug the light, but you might need to remove the dust boot to remove the light from the car (like in the picture).
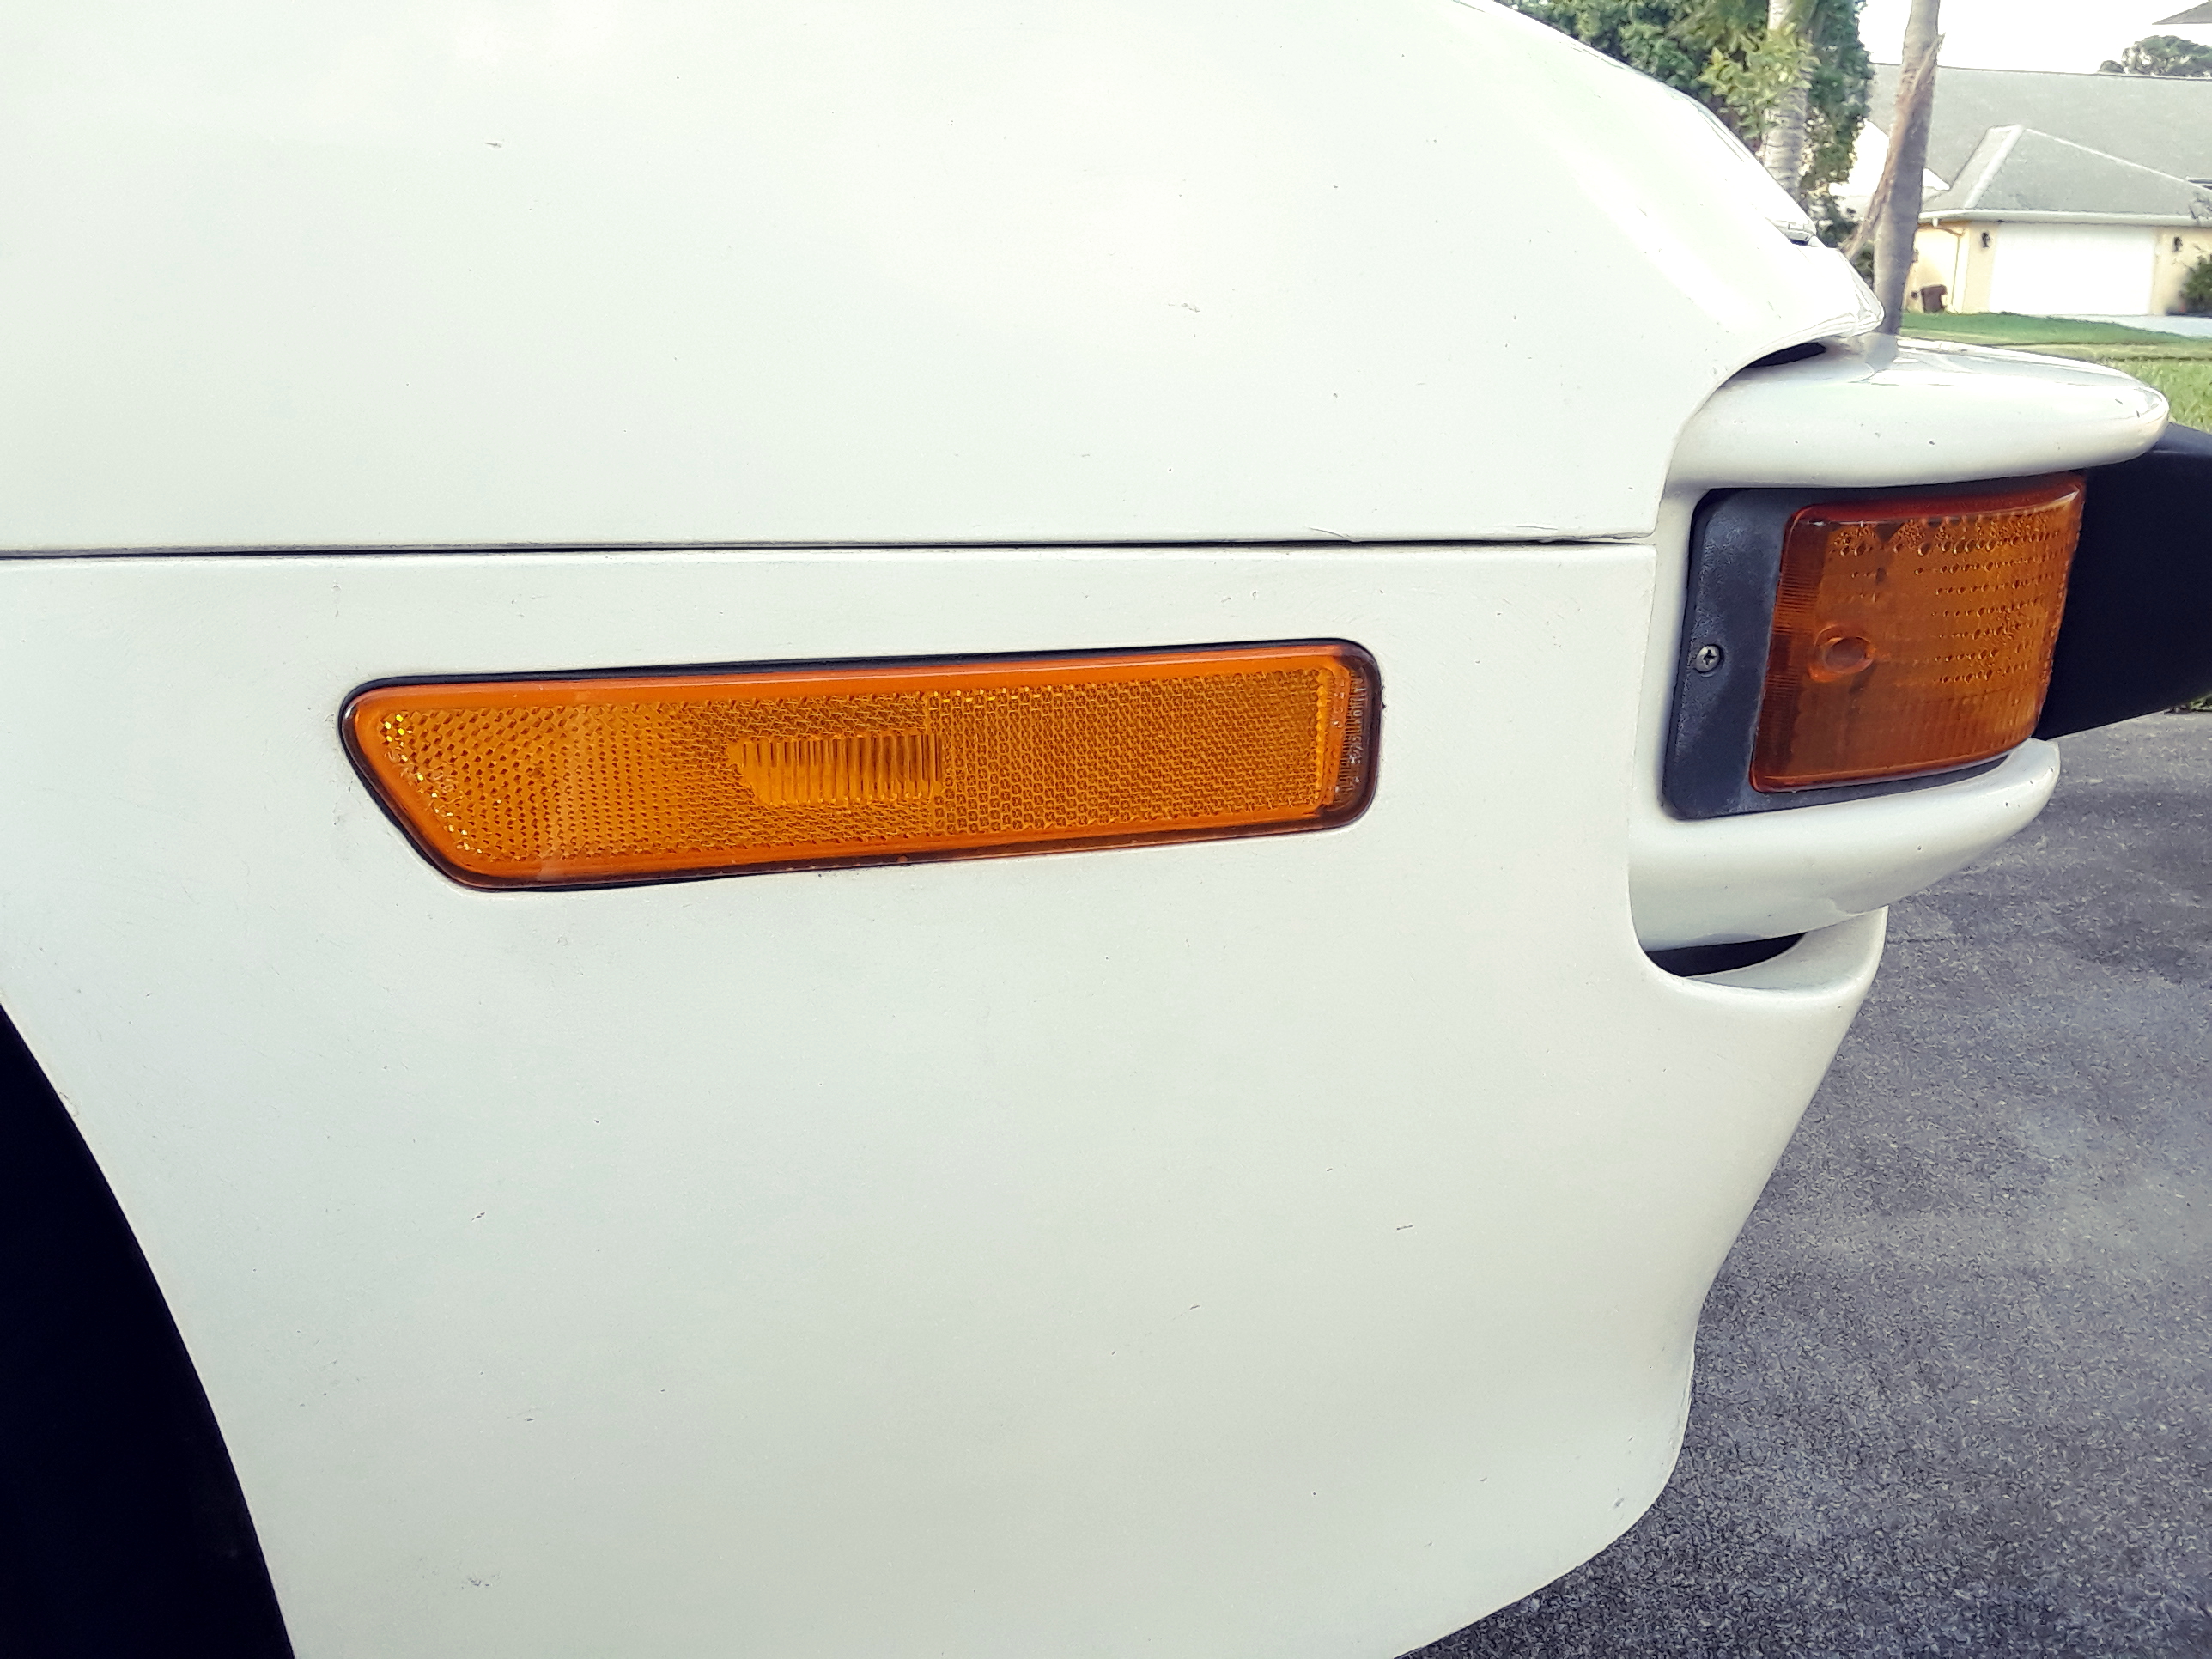
5. Clean the light where the new seal will go and place the new seal on. Tip: It can be very helpful to carefully use a small amount of superglue to hold the seal onto the lense (but not required).

6. Place the light back into the car and slide the rear assembly onto it, and tighten the 2 white nuts by hand. Push the access panel back into place and you are finished.

|