Tools you will need:
13mm Wrenches X2
13mm Socket (optional)
Procedure:
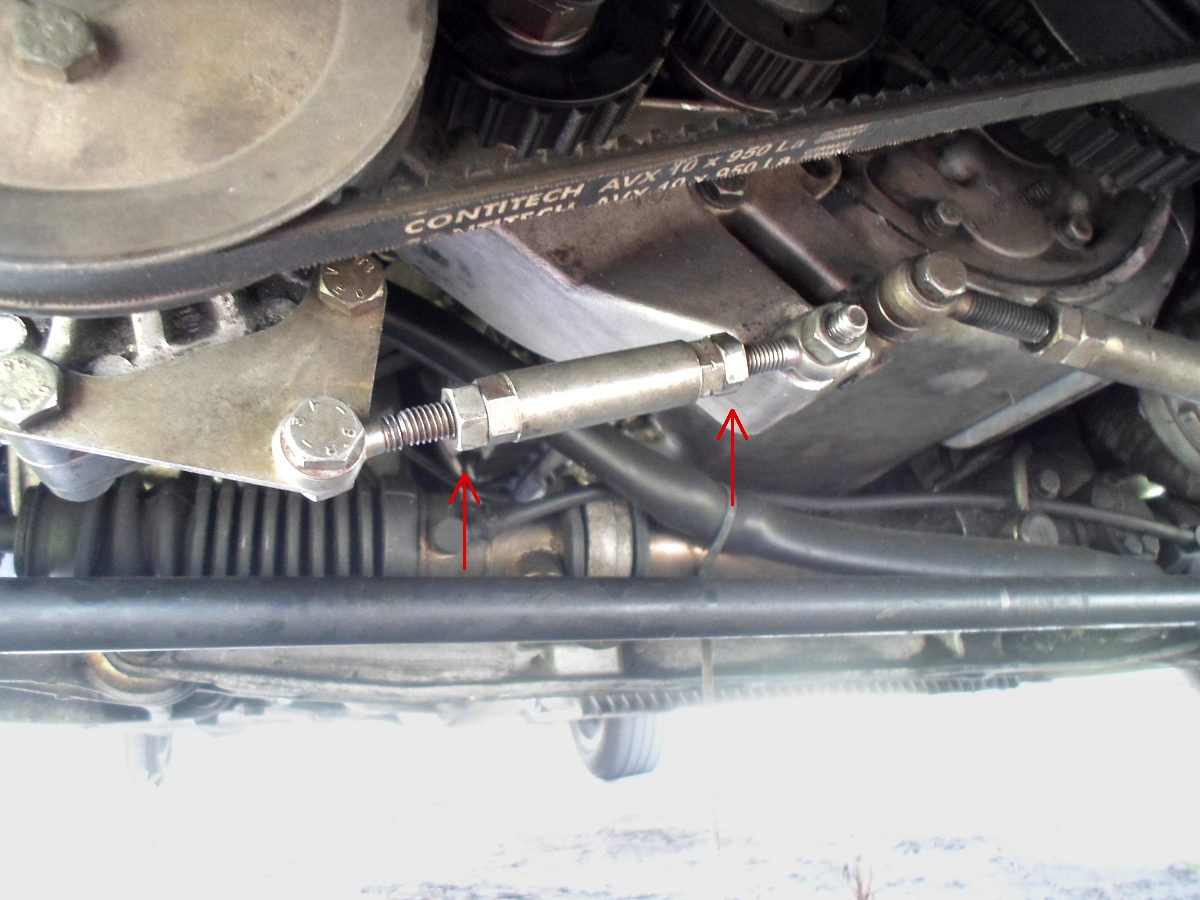
1. Remove the old tensioner from the car. Loosen the bolt and nut that hold the tensioner on the car first. Do NOT remove them completely, just loosen them a little bit.

2. Loosen the 2 jam nuts. Then rotate the middle section to release the tension from the belt. Once the tension is removed from the belt, you can completely remove the bolt and nut holding the tensioner onto the car, and remove the tensioner.
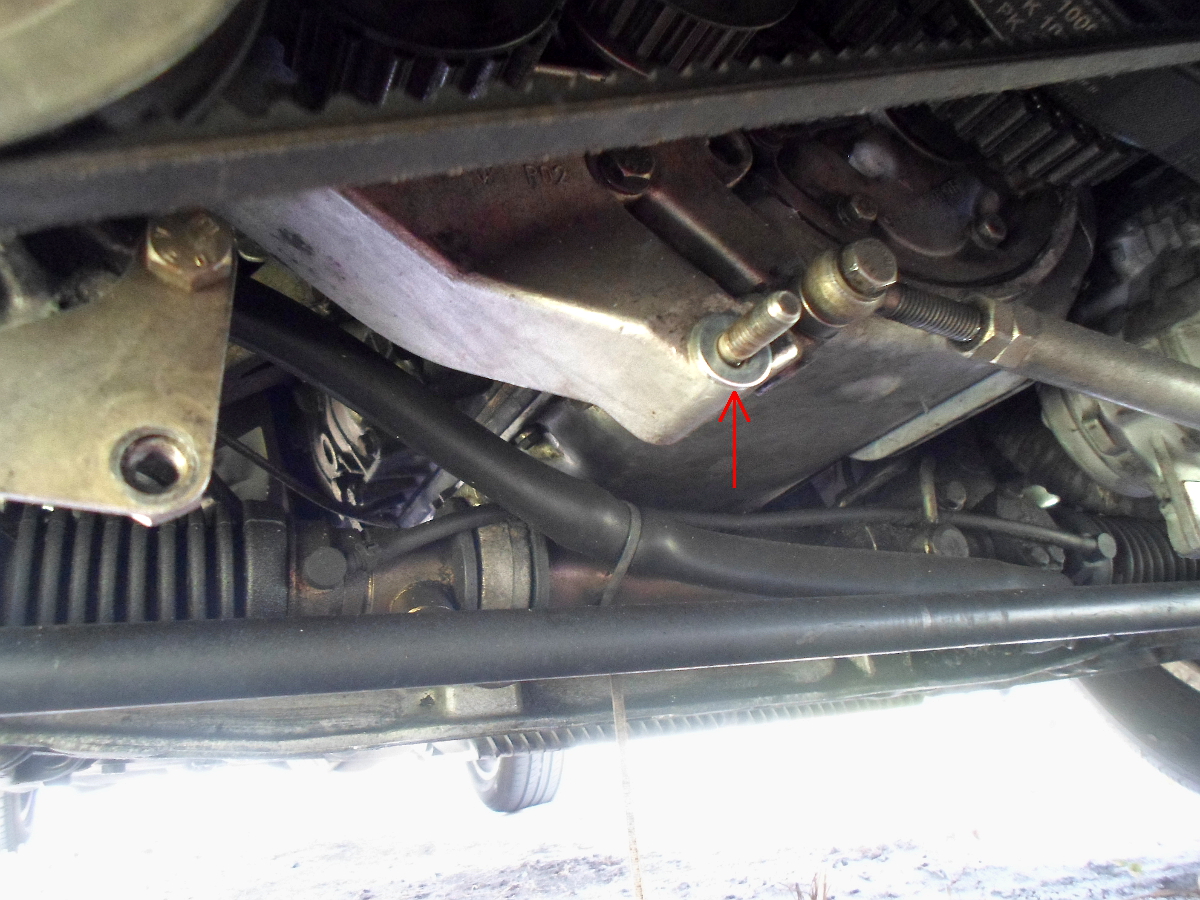
3. *Optional* Because the pump might not be spaced/aligned correctly, a spacing washer might be needed. Please click this link HERE to see if you need to install a spacing washer. If you do, before installing the new tensioner place one washer on the stud on the engine side, like in the picture.
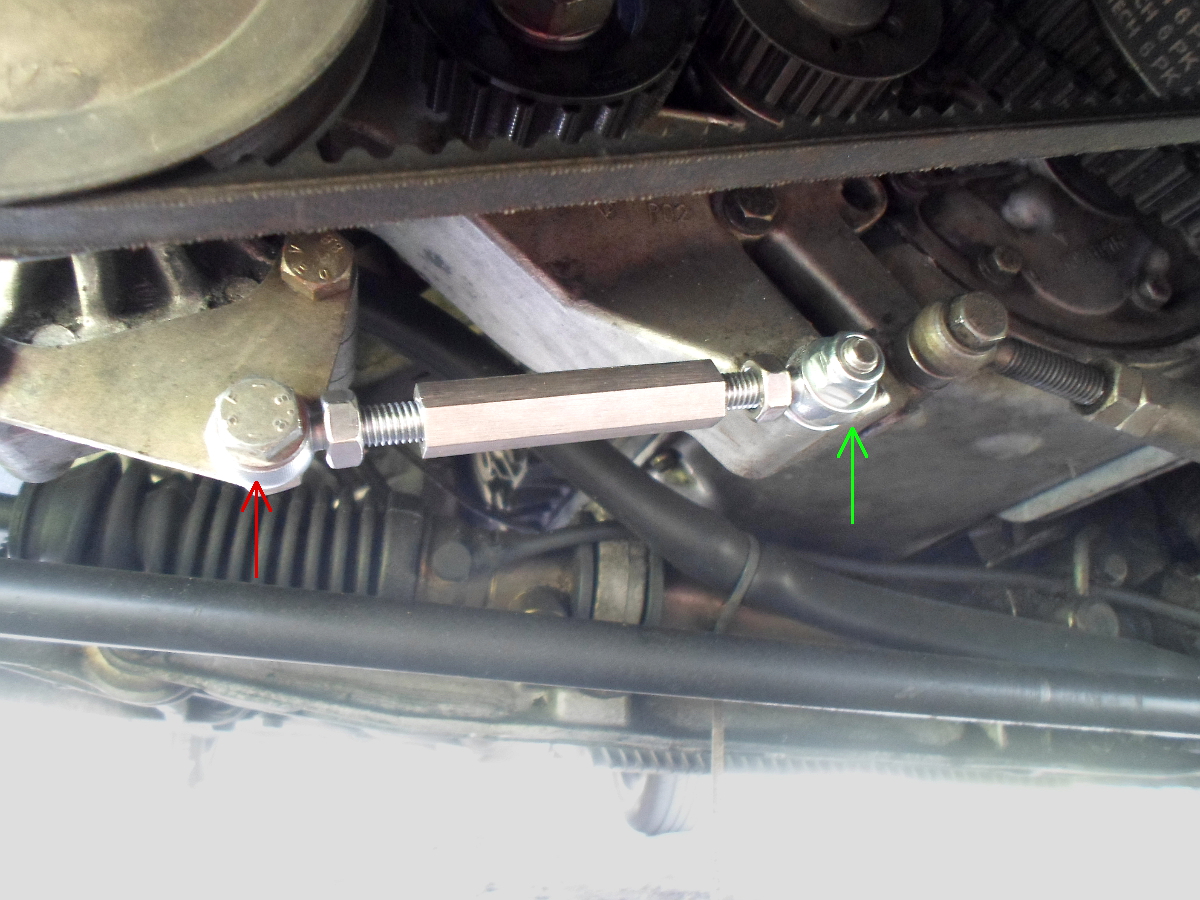
4. Now install the tensioner onto the car, then a washer and the supplied lock nut (green arrow). The left side will reuse the existing bolt and washer.
Tighten the bolt and nut (green and red arrow) until the are snug, but NOT tight.
5. Adjust the center hex rod to tighten the belt.
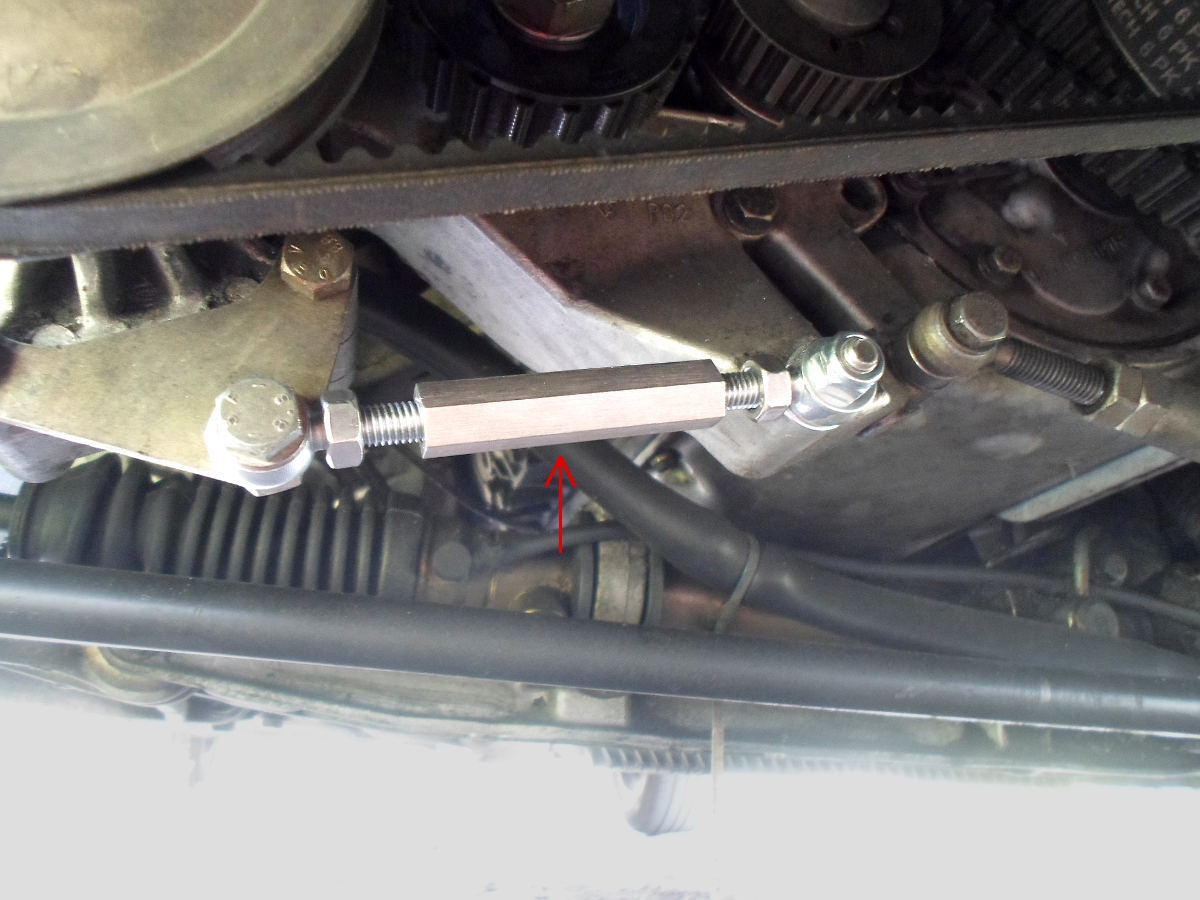
6. Once the belt is fully tight, then tighten the two jam nuts.
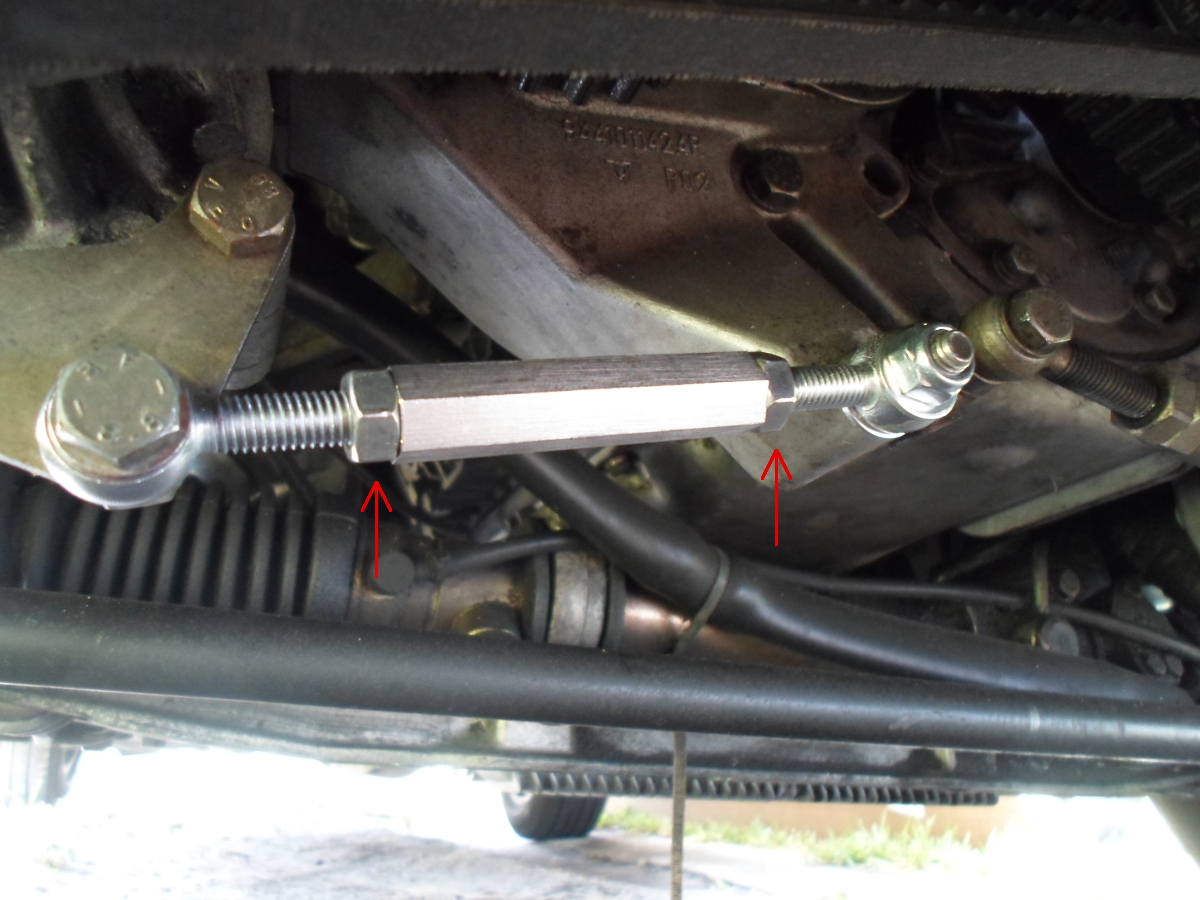
7. After the belt is tight, and the two jam nuts are tight, then tighten the bolt and nut holding the tensioner onto the car.
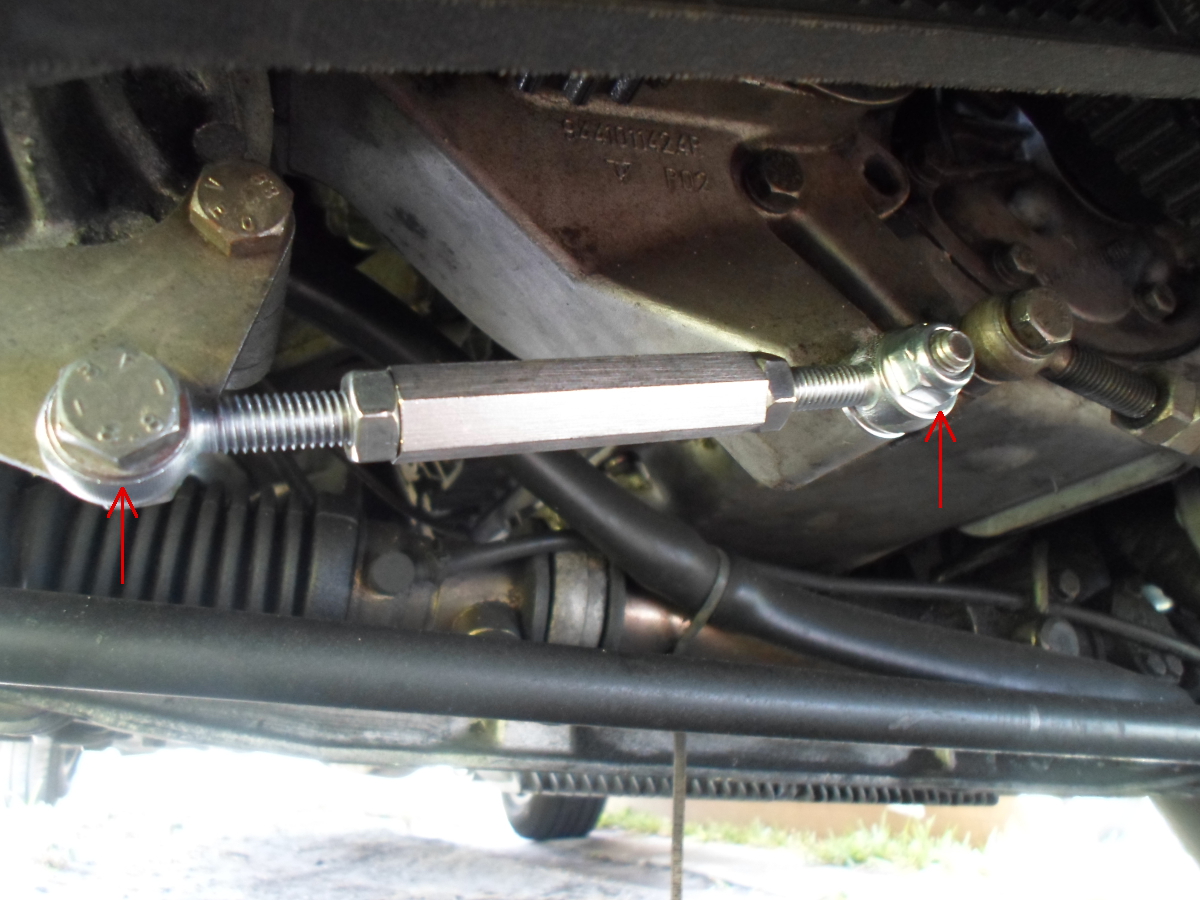
8. Check to make sure the pump nut is still tight
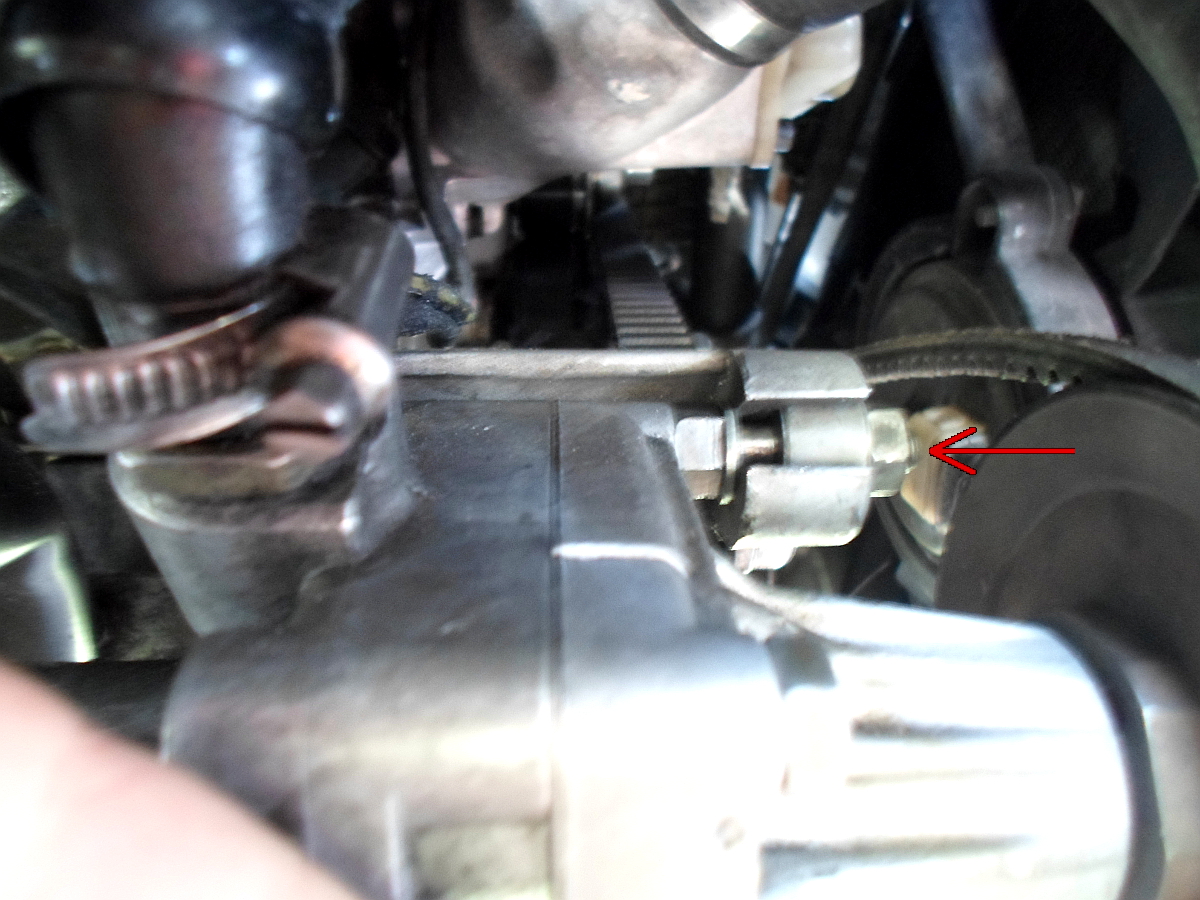
9. Double check to make sure everything is tight and you are finished.