Tools you will need:
11mm wrench cut to 1.5 inches long
17mm wrench
11mm wrench (normal size)
13mm Socket and Ratchet
Grease
Procedure:
*Please note that this arm is exactly the length and angle that it needs to be. There is no need to ever adjust it’s length or angle.
1. Start by putting blocks or stoppers under the wheels of the car so it doesn’t roll over you. Then put the car in neutral.
2. On the left side of the transmission, remove the arm from the top of the shift linkage. 17mm wrench and a 13mm socket. If the heat shield is in the way, it can either be bent out of the way or removed (it bends fairly easy by hand).
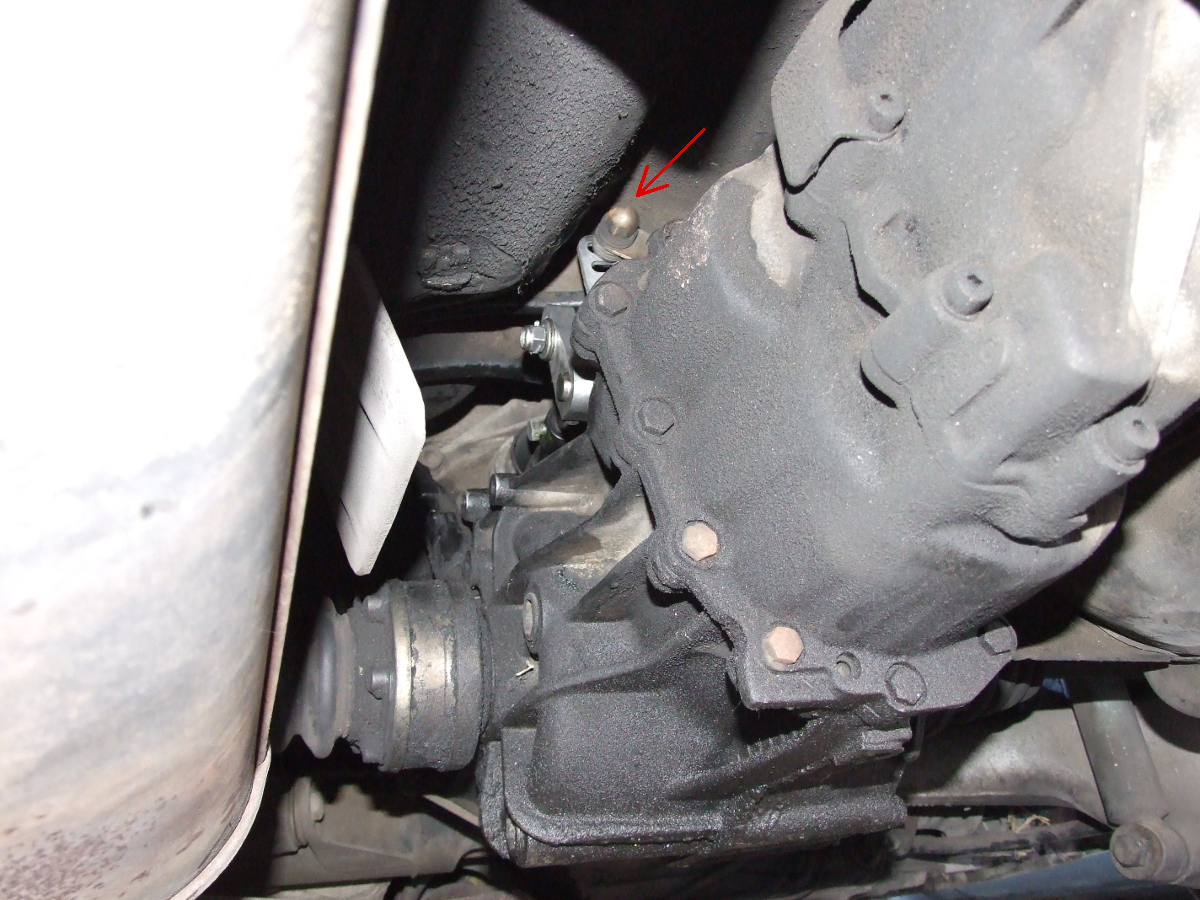
3. The other side of the arm is bolted to the transmission on the right side. Use a flashlight to locate this bolt. It’s a 17mm bolt that can be removed with a wrench.
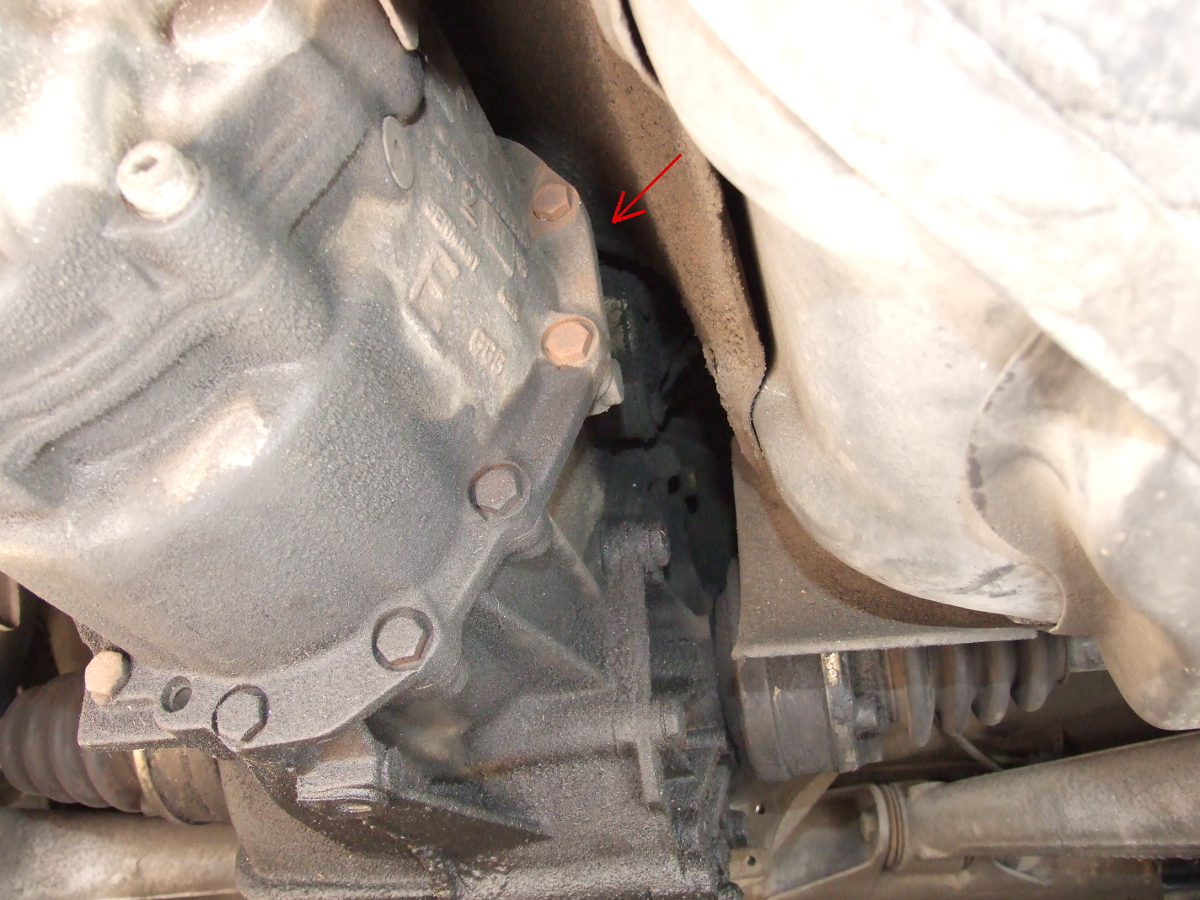
4. Here is another picture of the bolt with a wrench on the top. Once you find the bolt and get a wrench on it, it’s normally easier to move to the left side of the transmission and reach your arm over the top to the other side. Then you can loosen the bolt. Once it’s loose you should be able to remove it with your fingers.
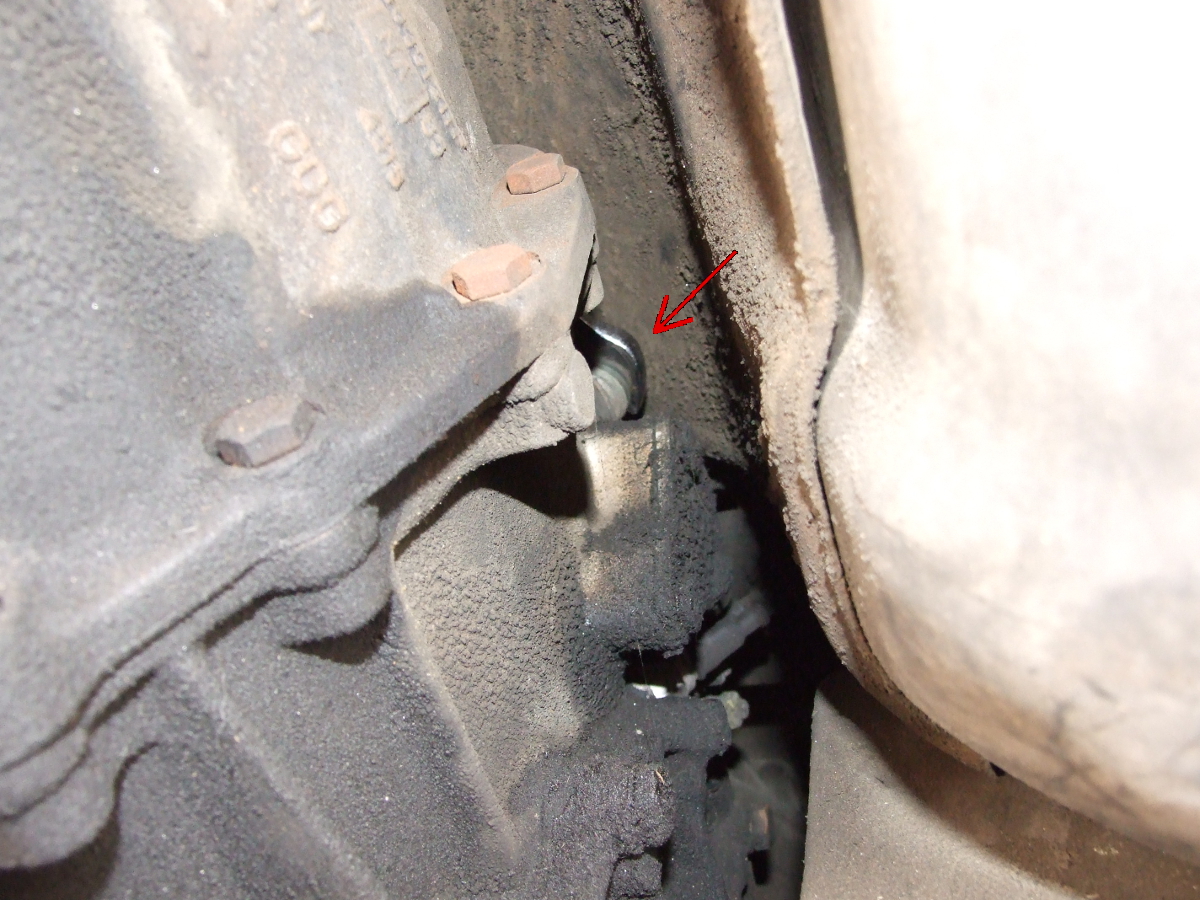
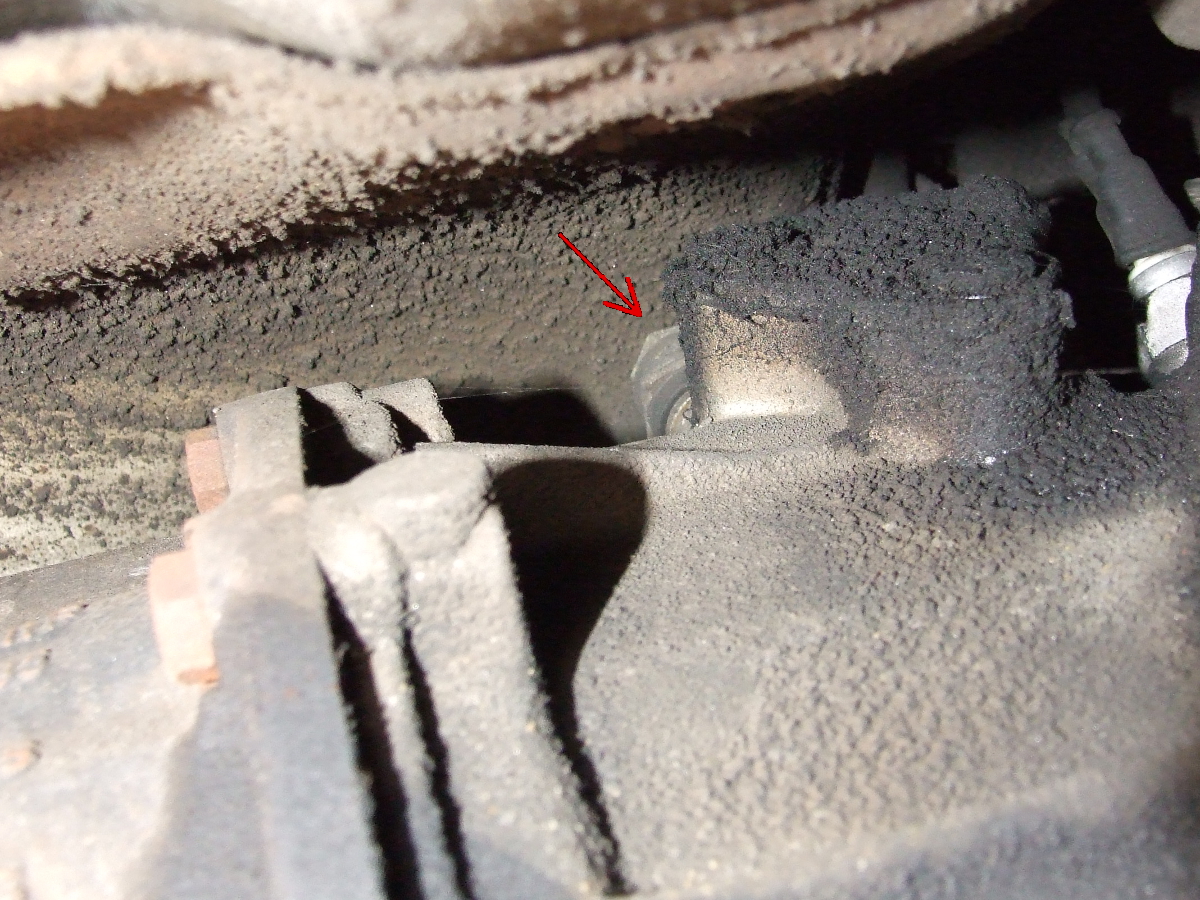
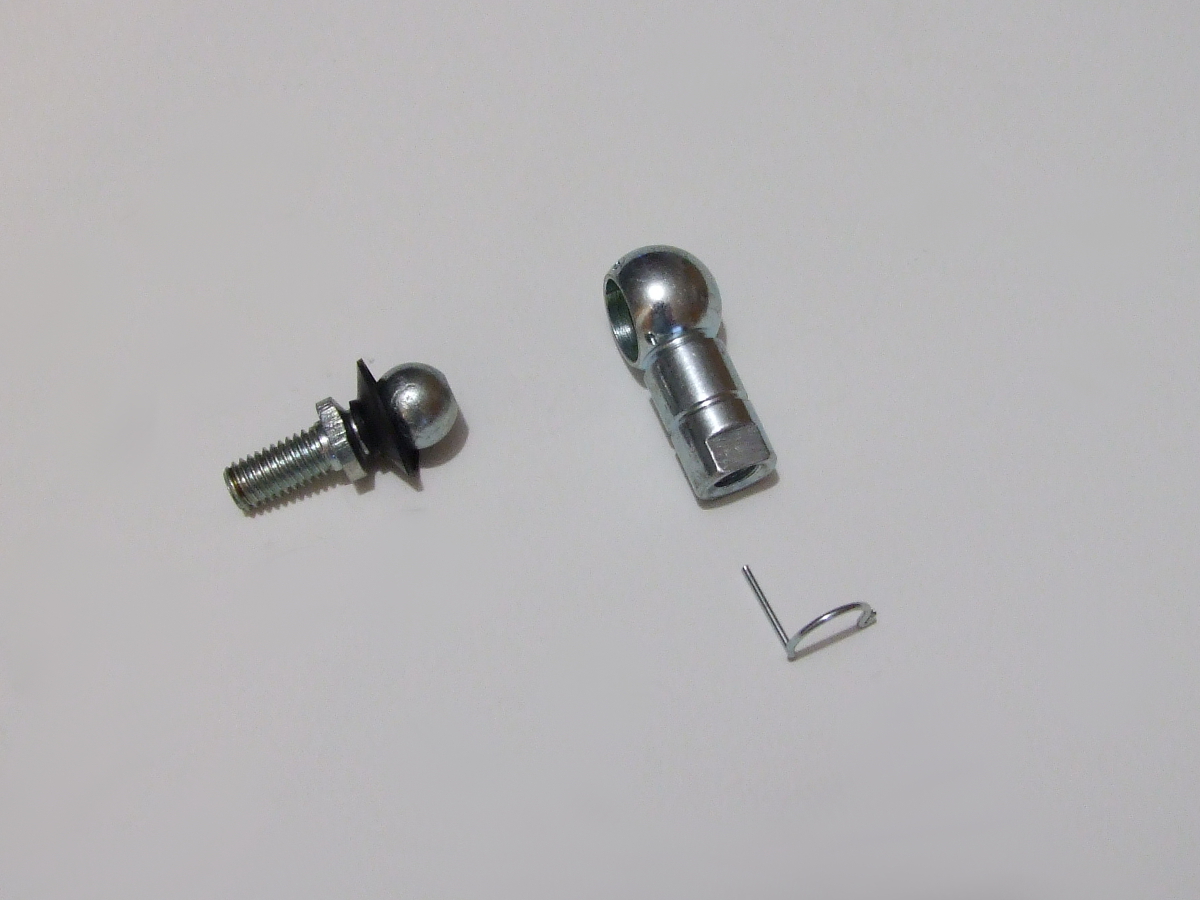
5. Now you should get familiar with the ball joint and how it works and comes apart. You will need to remove the ball from the joint. Rotate the clip over the joint and slide it back and out. Once the clip is removed, take pliers and grip the flat part of the ball and pull. The ball will pull out of the joint.
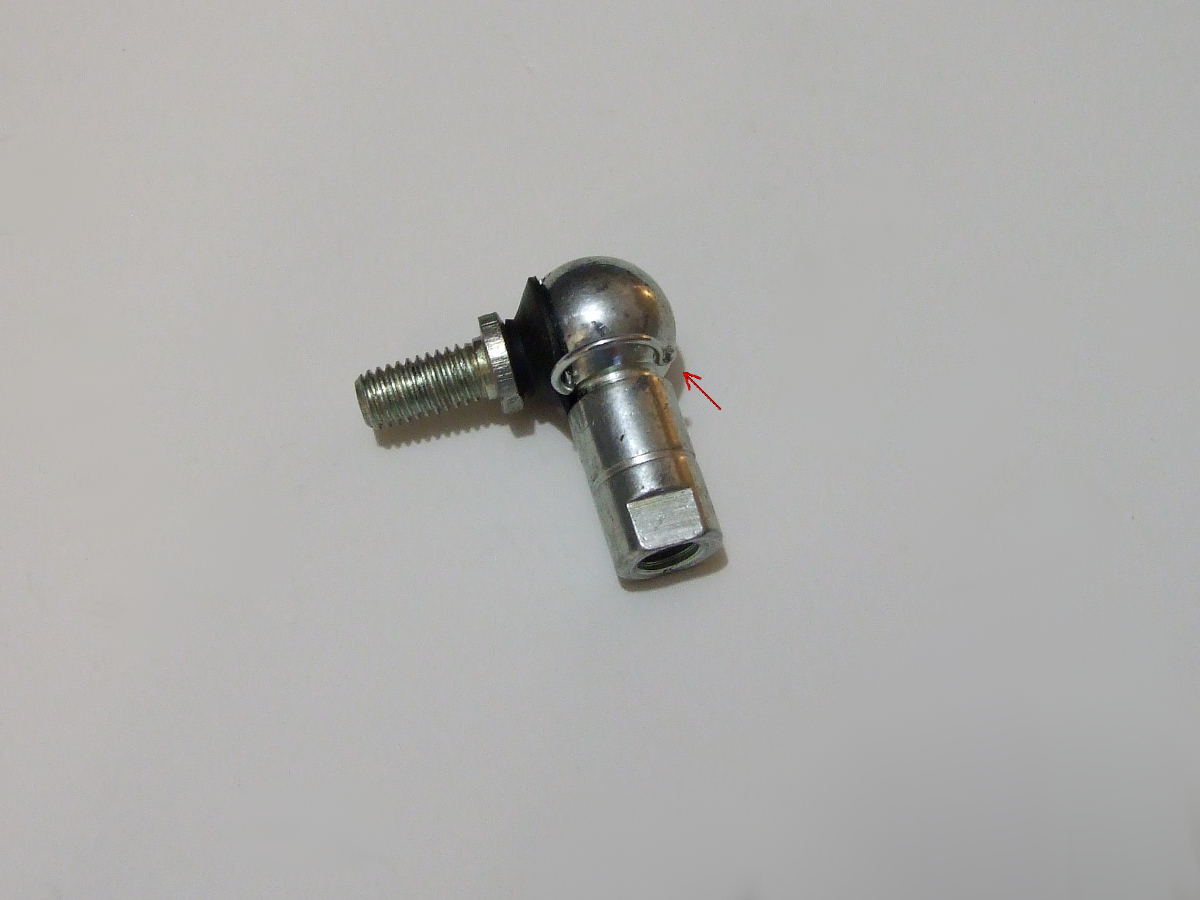

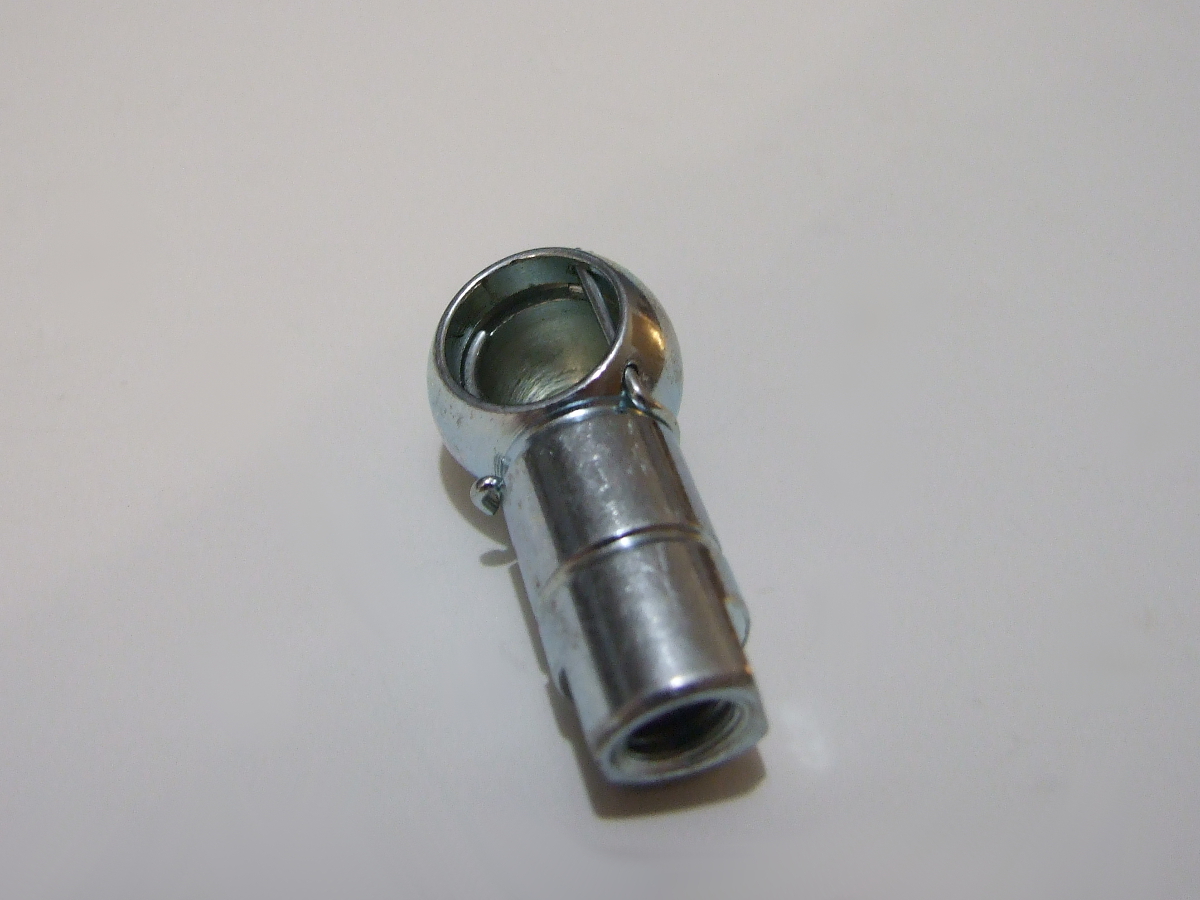
6. Try installing the clip a few times in the joint until you get good and know how it works. You will have to install this clip with very little visibility.
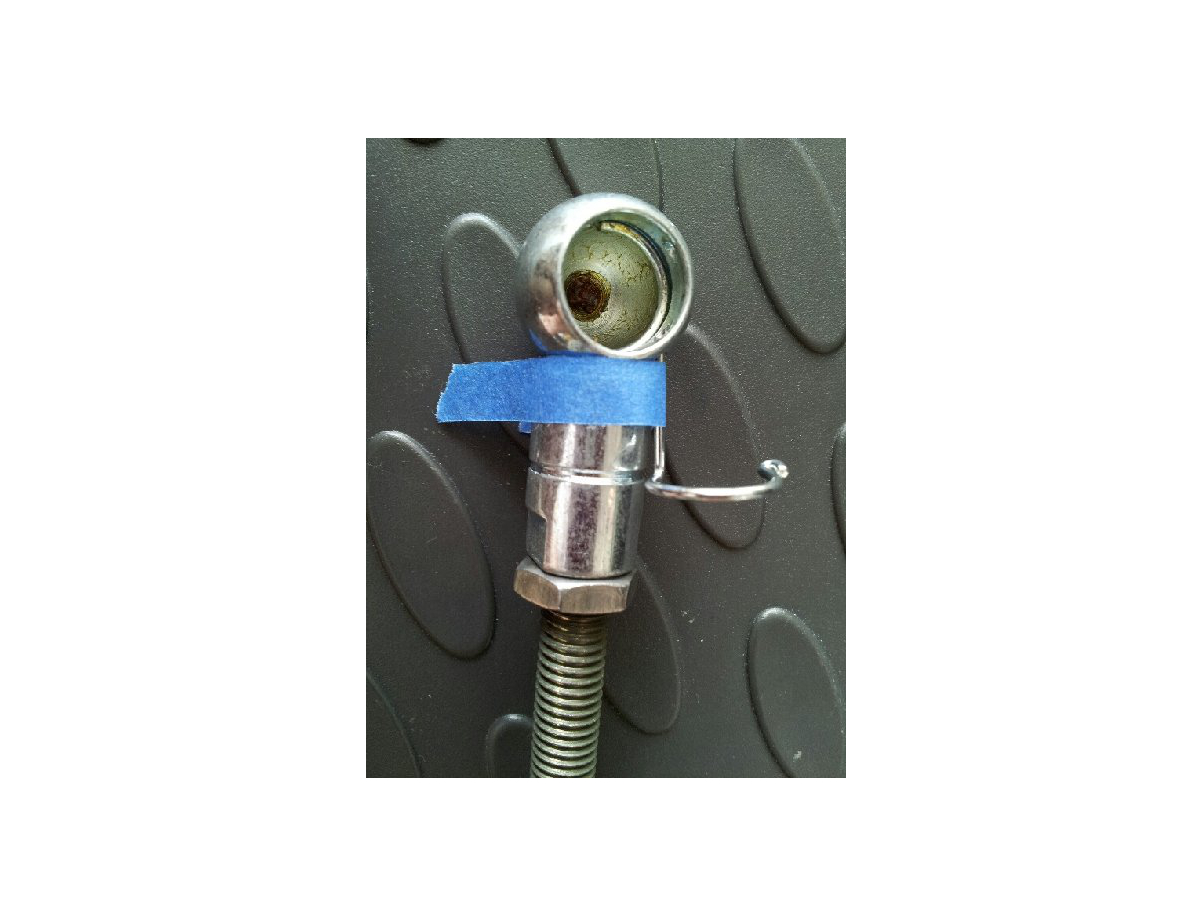
6.5 Here is a great tip from a customer. Insert the clip just barely into the hole and put some tap over the clip to hold it there. Then when you install the socket onto the ball, all you need to do it push the clip all the way into the hole and remove the tape. This will eliminate the guess work.(Thanks Ralph)
7. Take the ball (not the complete ball joint, but just the ball only) and remove all the grease from the ball. You will want it clean right now, it will make installing it much easier. Use the extra thick washer that was supplied on the ball stud. If you don’t use this thick washer the threads will bottom out in the hole. The thick washer is acting like a spacer.
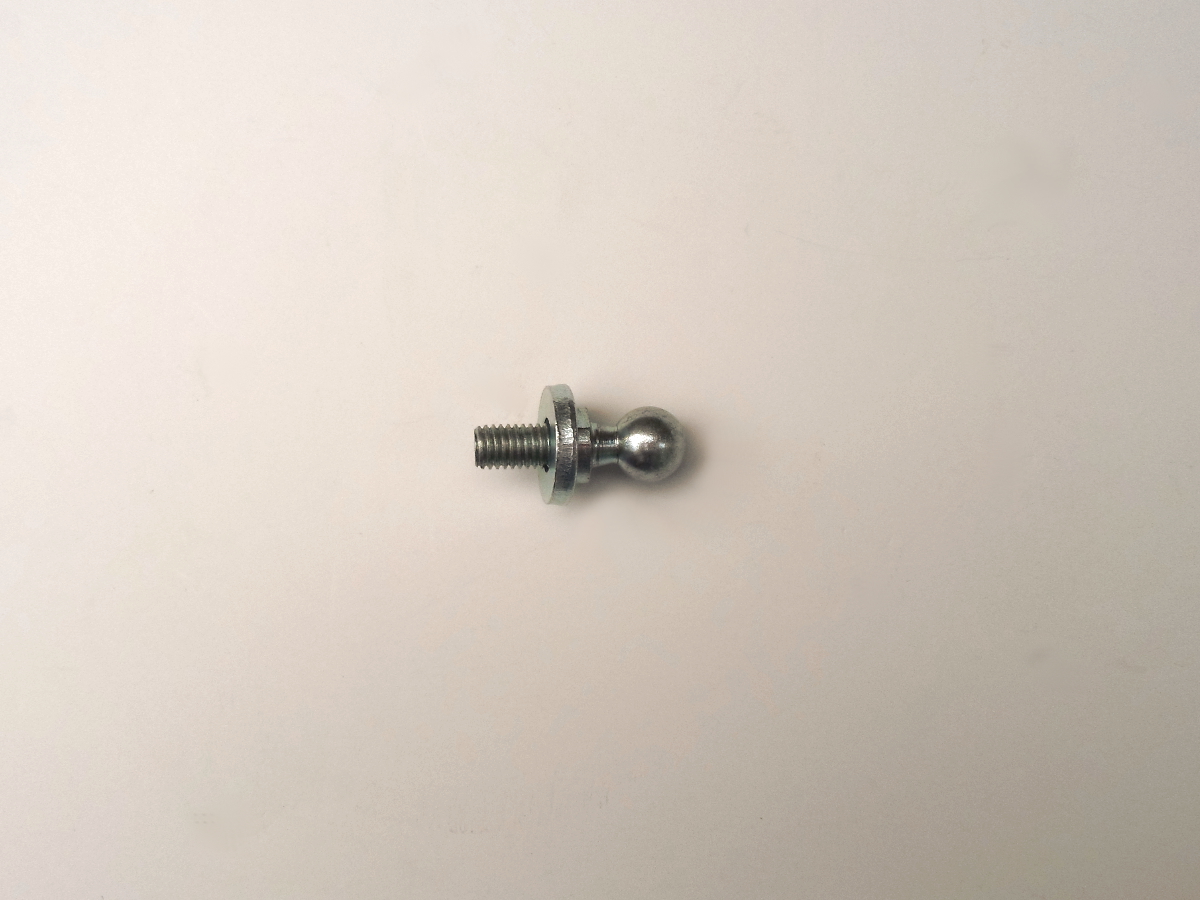
8. The picture below shows what the arm and washers should look like when they are install on the transmission. Since it’s hard to get a picture of it installed on the car, we took a picture of what it should look like, just not installed. The thick washer is important and needs to be there.
9. Take the ball with thick washer on it and install it in the top of the transmission. We found the easiest way to install it is from the left side of the transmission by reaching over the top of the transmission and screwing it in by hand. Tighten the ball as much as you can with your fingers.
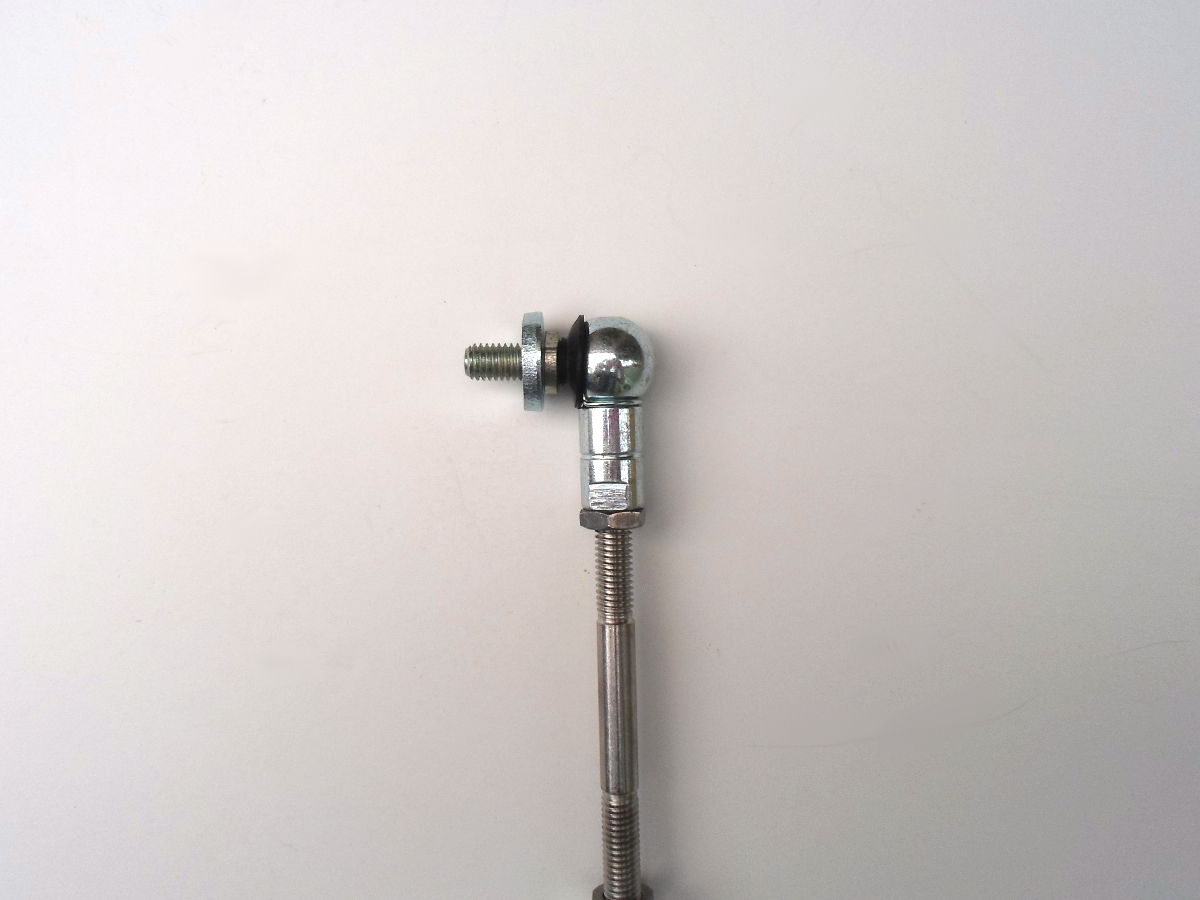
Below is a picture of what it looks like installed. Thick washer on the transmission side.

10. To tighten the ball the rest of the way you will need the short (cut) 11mm wrench. Reach over the top of the transmission with the cut 11mm wrench and tighten the ball the rest of the way. (as tight as you can).
11. Now use a normal size 11mm wrench to finish the job. You shouldn’t have to move the 11mm wrench very far to finish tightening the ball.
12. We would now recommend removing the ball from the other ball joint, regreasing it, and reinstalling it in the joint.
13. Take the shift linkage arm and put some grease in the empty joint. Then, from the left side of the transmission reach over and push the linkage arm onto the ball until it snaps down in place. Another way to snap the linkage arm onto the ball is by wrapping a tie down/ratchet strap around the transmission with the linkage arm on the ball and tightening the strap until the linkage arm snaps onto the ball. (Thanks Yasin for that great tip)
14. Now you will need to install the clip in the ball joint. Spin the arm to the right of the transmission so you can install the clip. Then push the clip in the joint and over until it latches.
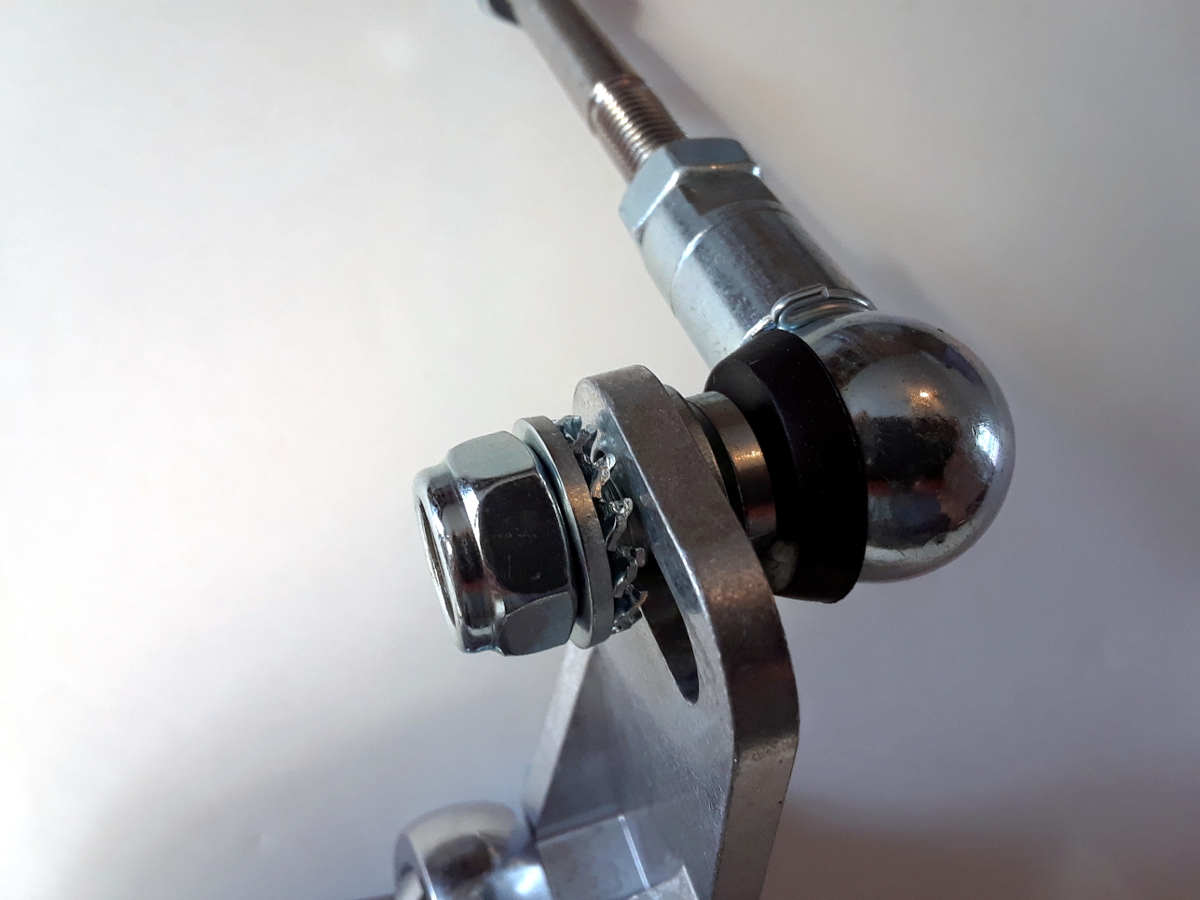
15. Spin the arm back over to the left side of the transmission. Use the supplied smooth washer on the ball joint, then insert it in the slot on the shift linkage. Then put on the star washer, then the smooth washer, then the lock nut. But don’t tighten the nut all the way yet. Below is how the washers should be installed on the top ball joint.
16. Have someone sit inside the car and hold the shifter directly in the center. Straight up and down. While they are holding the shifter you will need to tighten the 13mm nut all the way.
17. Now you are finished.


